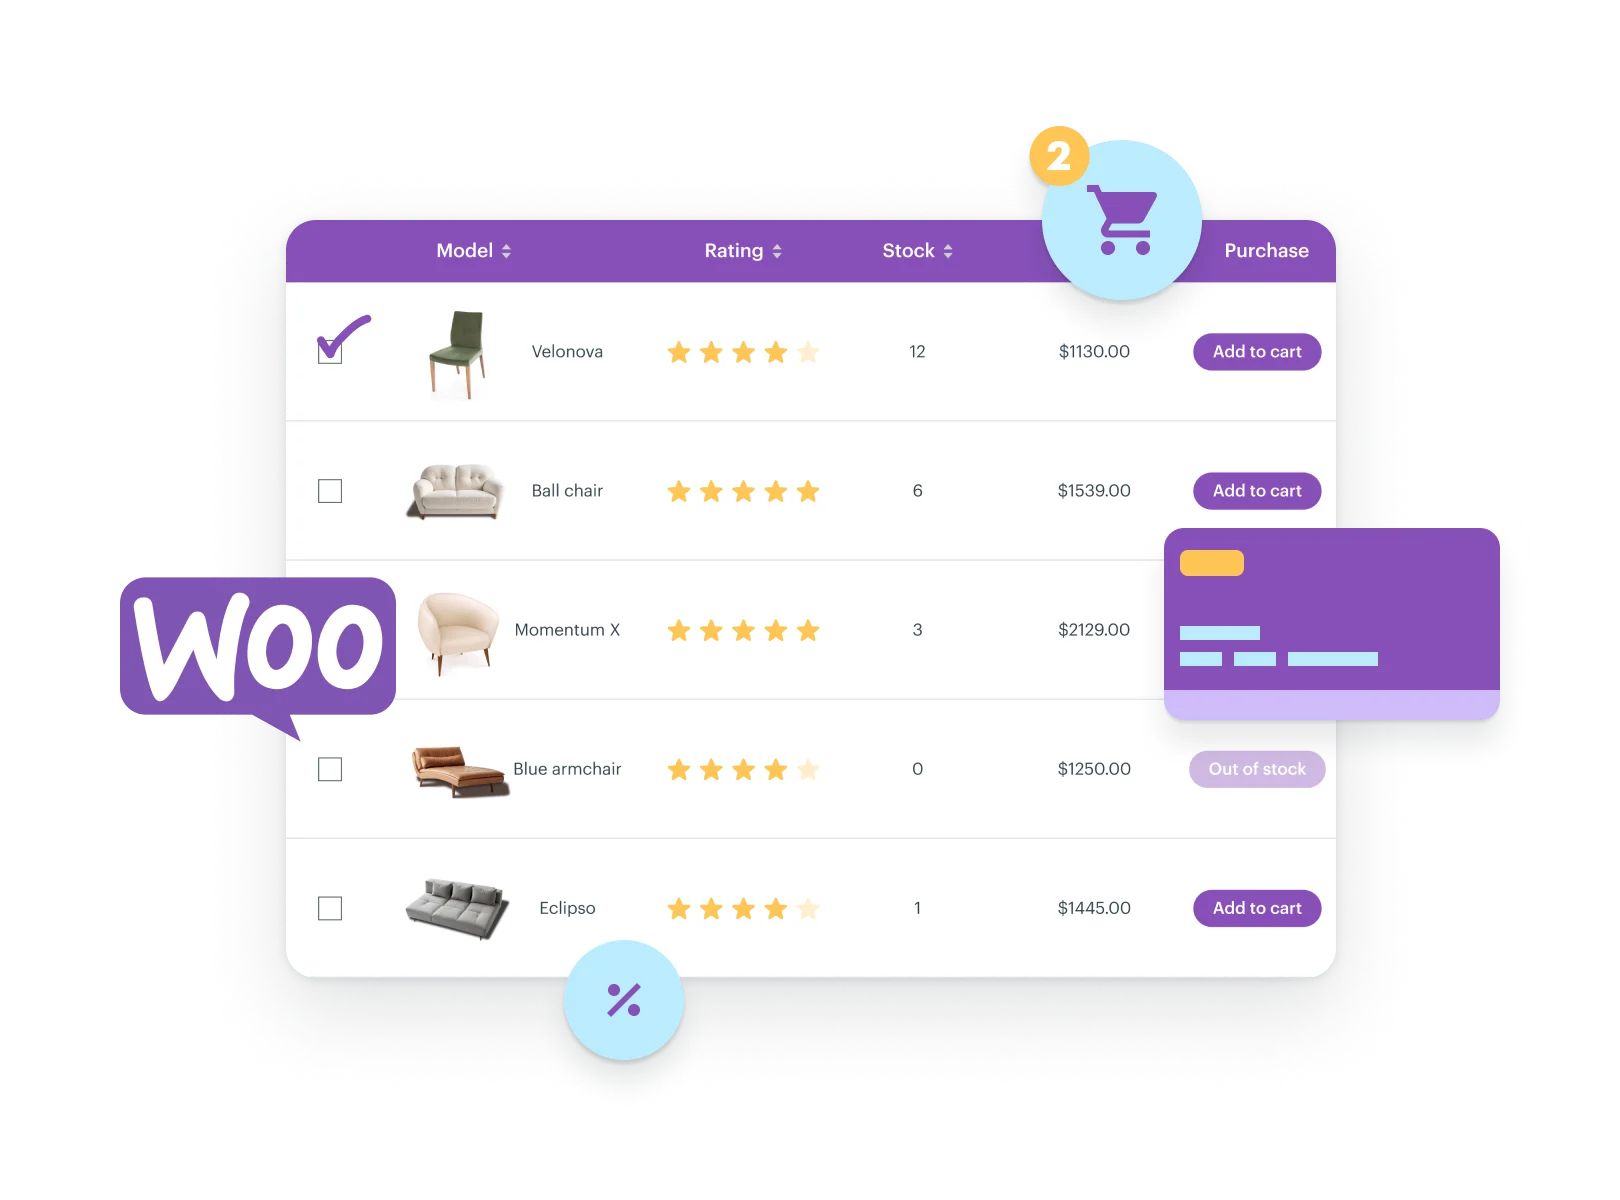


Table of Contents
Starting with version 7.0, we introduced WooCommerce integration with wpDataTables.
It enables users to create dynamic, customizable tables to display product data from their WooCommerce store.
By using wpDataTables, you can organize and present product information more effectively, improving the experience for both site administrators and customers.
In our “Create a Table” wizard, choose “Build a WooCommerce Table”.
In the next step, you can choose from various parameters to query the products by—such as categories, tags, price, and more.
The parameters are organized under the following tabs:
Whenever any input is changed, the results matching the selected parameters appear in the preview.
Unlike other wpDataTables “preview table” steps, this preview updates in real-time based on the query. In the next step, users see a final preview, and then the WooCommerce table is generated.
As of now, the columns available include: Select, Product ID, Product Name, SKU, Price, Stock Status, Total Sales, Categories, Tags, Dimensions, Average Rating, Review Count, Featured Image, Date Published, Short Description, and Add to Cart.
The “Select” and “Add to Cart” columns are “special” columns integrated by wpDataTables, while the other columns are pulled directly from the WooCommerce database and correspond to each product.
Column visibility can be adjusted in the same way as for other table types, but please note that, at this time, there is no step during table creation in which the administrator chooses which columns to include in the table.
There are three possible ways the product price may be displayed, depending on the product:
For variable products, it loads dropdowns for selecting variations (e.g., size, color).
If predefined values exist, they are pre-filled in the dropdowns.
The “Add to Cart” button is disabled on table load until variations are chosen.
Above the table, immediately above the “Select” column and below the “Add to Cart” button, the number of items in the customer’s cart and the total accumulated amount are displayed.
Above this section, there is a clickable “View Cart” icon that redirects to the WooCommerce cart.
Below the “Add to Cart” button, once a product is added to the cart, a clickable cart icon appears with a number indicating how many of that specific product has been added. Clicking the icon redirects the user to the WooCommerce cart.
If a product has limited stock, and a user attempts to add an unavailable quantity to the cart, a notification appears indicating that the product is unavailable.
Starting with wpDataTables version 7.2, WooCommerce product tables now fully support displaying custom fields associated with your products.
When creating or editing a WooCommerce table using the Table Constructor, any custom fields linked to your products can be added as additional columns.
This enhancement allows you to build more dynamic, detailed, and informative product tables.
For example, you can now easily display custom fields such as Brand, Season, Colorway, Material, and more.
Here is an example of how to do this using ACF (Advanced Custom Fields), although you can use any other custom field plugin as well.
First, create a new ACF Field Group. In this case, we name it “ACF Products”.
We’ll include a couple of simple text fields, such as “brand” and “material”.
Make sure to add a Location Rule to your Field Group so that it applies only when the Post Type is equal to “Product”.
Important Note:
When creating custom fields through plugins like Advanced Custom Fields (ACF) or similar tools, keep in mind that:
The Label you set for a field is used only for display purposes in the WordPress product edit screen.
The actual Custom Field Name (also called the “field key” or “meta key”) is what wpDataTables uses to detect and display the custom field in your WooCommerce table.
When we edit our WooCommerce products, ACF will load the new custom fields we just created.
Now, we will add the custom fields as additional columns to our table:
Open the Custom Fields tab in the table’s settings.
Click “Add New Custom Field Column.”
Set the Column Header to your desired display name.
The Custom Field value must match the actual custom field name.
In this case, we used 'brand'
and 'material'
.
Save changes, and here is how the custom fields render in our example table.
To get your hands on wpDataTables Lite, please enter your email address below. We’ll send you a direct download link and keep you updated on existing features along with helpful tips and tricks!