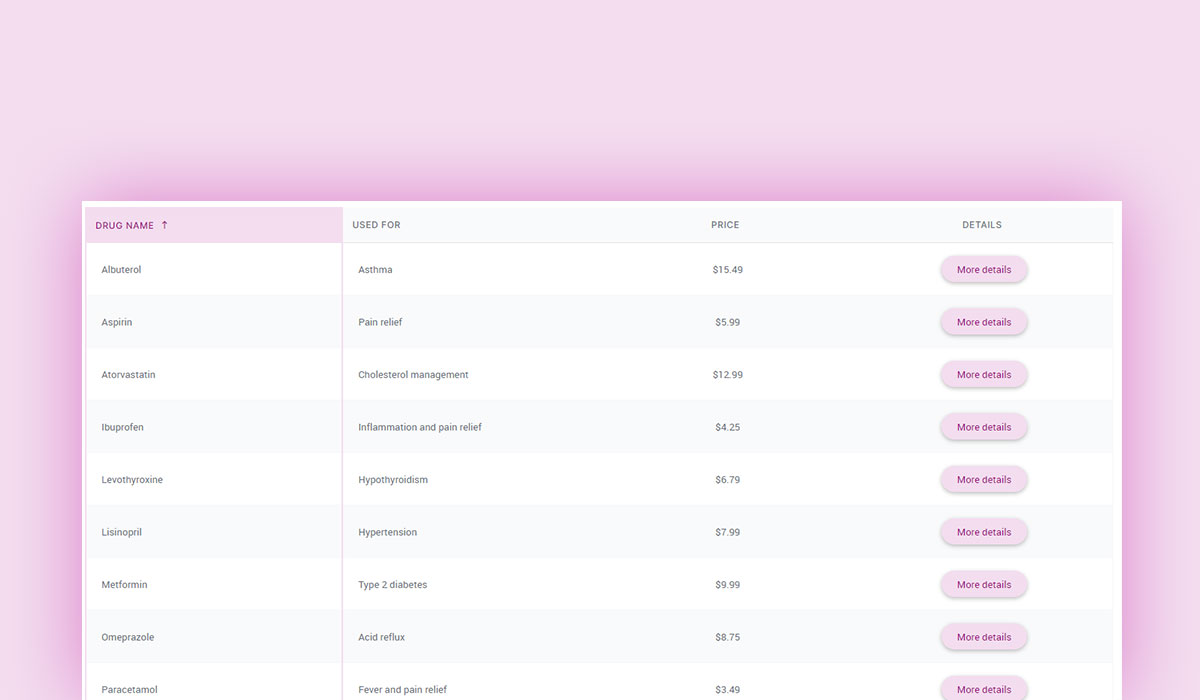
Tables are an essential part of web design, used for displaying structured data in an organized manner. However, raw HTML tables can sometimes look dull and difficult to read, especially when dealing with large datasets.
One simple yet effective way to enhance table readability is by highlighting rows dynamically. This can improve user experience by making it easier to follow data across columns and interact with table elements.
In this guide, we’ll explore different ways to use CSS to highlight rows in an HTML table. You’ll learn how to:
- Highlight rows when hovered over
- Change row colors on click using JavaScript
- Apply conditional row highlighting based on data
- Use nth-child() for alternating row colors
By the end, you’ll have practical CSS solutions to enhance your table designs.
Table of Contents
Why Highlight Rows in a Table?
Tables are a common element in web design and often contain large amounts of data. You can display financial records, product listings, or event schedules, and highlighting rows can drastically improve the user experience and readability of your tables.
Improves readability
Tables can quickly become overwhelming when there’s a lot of information in them. By highlighting specific rows, you make it easier for users to focus on and read the data they need. For instance, highlighting every other row with alternating colors or highlighting the row on hover can help guide the eyes, making the table more digestible.
Enhances user experience
Highlighting rows can improve the interactivity of your tables. When users can clearly distinguish between different rows, they feel more in control of their navigation through the table. The simple action of hovering over or clicking on a row gives immediate visual feedback, which adds to a more intuitive user interface.
Visual cues for important data
When presenting data, it’s helpful to emphasize key pieces of information. CSS highlighting can be used to draw attention to important rows based on user interactions or conditions (e.g., data that meets certain criteria). This method ensures that users don’t miss out on the most crucial data points, whether it’s a high-priority entry or a row that needs to stand out.
Perfect for large datasets
In tables with extensive rows and columns, scrolling becomes a challenge for users. Highlighting rows ensures that, even when users are scrolling, they can always keep track of the row they’re on, which makes navigating large tables much easier.
Methods to Highlight a Row Using CSS
here are several methods to achieve this effect, each suitable for different use cases. Here, we’ll explore the most common and effective techniques you can use.
Using CSS hover to highlight table row
One of the most popular methods for row highlighting is using the :hover pseudo-class. This allows you to change the appearance of a table row when a user hovers over it, providing instant feedback. This technique is commonly used for tables where users might need to track their mouse position or navigate through the data without having to click on anything.
How it works
The :hover pseudo-class is used to define the style of an element when a user hovers over it. When applied to a table row, it can change the background color, text color, or other properties of the row to make it stand out. For example, you can change the background color of a table row on hover to indicate which row is currently being focused on.
Why it’s effective
- Intuitive for users: It provides immediate feedback when users interact with the table, making navigation feel more dynamic and responsive.
- Easy to implement: You only need a few lines of CSS to apply this effect, and it can be done without JavaScript.
- Improves UX: It helps users track their position in the table, especially when dealing with large datasets.
Example scenario
Imagine you have a table with product listings. As the user hovers over a product row, the background color could change, making it easier to see which product they are focusing on. This is especially useful in e-commerce sites or any table where quick scanning of rows is needed.
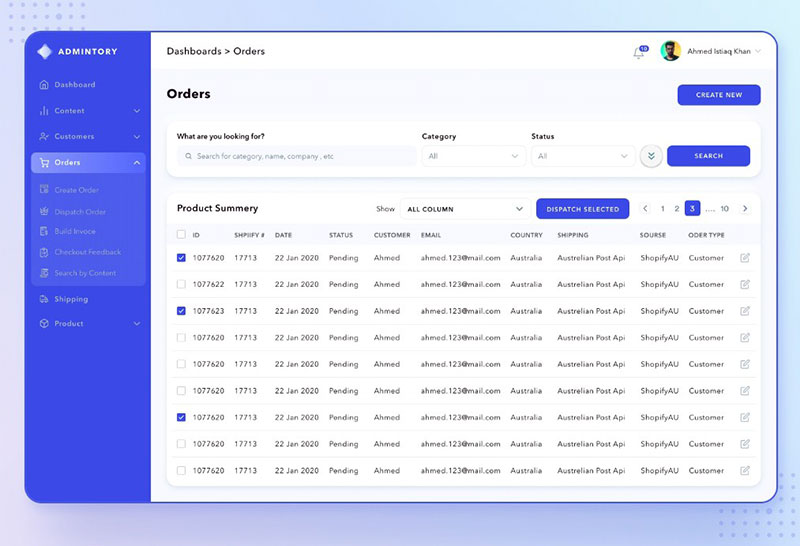
Highlighting a row based on click or selection
While hover effects are great for indicating which row is being actively interacted with, sometimes it’s necessary to highlight a row based on user selection. This is typically used in more interactive tables where users may need to select specific rows, such as in form submissions or data tables where the user might need to act on the row (e.g., editing or deleting a record).
How it works
In this case, a user selects a row by clicking on it, and CSS is used to apply a highlight style to the selected row. While this usually involves a combination of CSS and JavaScript (for tracking the selected row), it’s still a straightforward and effective way to emphasize data the user has selected.
Why it’s effective
- Clear visual feedback: It shows the user exactly which row they have selected, reducing confusion, especially in tables with multiple rows.
- Enhanced interaction: This method can be combined with other features (e.g., deleting or editing rows) for a more interactive user experience.
Example scenario
A user is managing customer information in a table. After clicking a row, the row highlights, signaling that the user has selected that entry for further action, such as viewing or editing the customer details.
Basic CSS to Highlight a Table Row on Hover
One of the simplest ways to highlight table rows dynamically is by using the :hover pseudo-class in CSS. This allows you to change the background color of a row when the user hovers over it, improving readability and user interaction.
- The tr:hover selector applies a background color change to any table row (<tr>) when the mouse pointer is over it.
- The background color will revert to its default once the user moves the cursor away.
- You can change the highlight color by modifying the background-color property.
- Use a subtle color that contrasts well with the table’s default background to maintain readability.
This method is purely CSS-based and does not require any JavaScript, making it efficient and easy to implement.
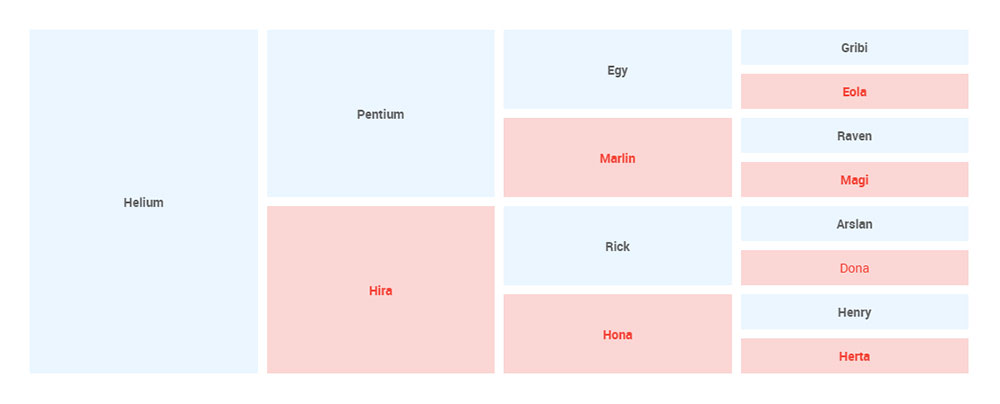
Styling Table Rows Based on Conditions (Alternating Row Colors)
Another effective way to highlight table rows is by styling them based on specific conditions. This technique is useful when you want to create visual distinctions between rows without requiring user interaction. For example, alternating row colors or highlighting rows that meet specific criteria can help improve readability and make it easier to scan through large datasets.
How it works
Using CSS, you can apply styles to table rows based on their position in the table. The nth-child() selector is particularly useful for this purpose, allowing you to target even or odd rows and apply alternating colors. This method creates a zebra-striping effect that is visually appealing and helps users differentiate between rows more easily.
Another common application is using conditional CSS to highlight rows based on specific data. For example, you can highlight a row where the value exceeds a certain threshold, or a row that matches a particular category or status.
Why it’s effective
- Improved readability: Alternating row colors break up the monotony of plain, continuous rows, making it easier to follow along.
- Scannability: It helps users quickly identify and distinguish rows, improving the overall scanning experience, especially in large tables.
- Contextual highlighting: By applying styles based on conditions (e.g., highlighting rows with critical data), users can easily identify important or outlying information in the table.
Example scenario
Suppose you have a financial report in a table format. By using the nth-child() selector, you can alternate row colors so that each entry is visually separated, making it easier for users to scan through the numbers. Additionally, if any row contains data above a specific value (such as high sales figures), you can use conditional CSS to highlight those rows in a different color, helping them stand out for quick review.
Best Practices for Table Row Highlighting
While CSS row highlighting can enhance your table’s usability, it’s important to follow best practices to ensure that your design remains effective and accessible. Here are some key considerations when using CSS to highlight table rows.
1. Ensure sufficient contrast for accessibility
One of the most crucial aspects of row highlighting is ensuring that the highlighted row is easily visible to all users, including those with visual impairments. To achieve this, you should ensure that there is enough contrast between the row background color and the text color.
- WCAG (Web Content Accessibility Guidelines) recommend a contrast ratio of at least 4.5:1 for normal text and 3:1 for large text.
- Test your row highlights to ensure they meet these accessibility standards, so your table is readable for everyone, including people with color blindness or low vision.
2. Keep color choices subtle
While it’s important to make rows stand out, using overly bright or contrasting colors can create visual clutter. Too much color can make the table feel chaotic and difficult to read.
- Use subtle color changes, such as light grays or pastels, to highlight rows. This helps the highlighted row stand out without overwhelming the user.
- Stick to a consistent color scheme that aligns with your website’s overall design and branding. This ensures that your row highlighting feels natural within the context of your site.
3. Consider user experience on mobile devices
Many users will interact with tables on mobile devices, where screen space is limited and touch interactions replace mouse hover effects. When implementing CSS row highlighting:
- Ensure that any hover or click interactions are touch-friendly. For mobile users, it might be better to use click-based row selection instead of hover effects, as hover interactions are not effective on touch devices.
- Test your design on different screen sizes to make sure your row highlighting remains clear and functional on both desktop and mobile devices.
4. Don’t overdo it
While row highlighting can improve the table’s usability, it’s important not to overdo it. Too many highlights or excessive changes in color can distract users and make the table look messy.
- Use row highlighting sparingly, only highlighting when it’s necessary for the user experience.
- Consider applying hover effects only, or alternating row colors without adding additional dynamic styles unless absolutely needed.
5. Use transitions for smoother effects
Adding a slight transition effect when highlighting rows can make the interaction feel more polished. CSS transitions can help your row changes feel smoother, avoiding a sudden shift that could disrupt the user experience.
- For example, when using hover effects, you can apply a transition to the background color change, so it gradually shifts when the user hovers over a row.
Using wpDataTables to Highlight Rows Without Writing Code
If you want to add row hover effects or highlight specific rows without dealing with CSS or JavaScript, wpDataTables provides a user-friendly solution. This powerful WordPress plugin allows you to create dynamic, interactive tables with built-in styling options – no coding required.
How to enable row highlighting in wpDataTables
wpDataTables offers several ways to enhance table interactions, including hover effects and conditional formatting. Here’s how you can achieve row highlighting easily:
1. Apply hover effects without code
wpDataTables includes a built-in setting that automatically highlights rows on hover.
Steps to enable hover effects
- Create a table – Use the wpDataTables interface to import or manually enter data.
- Go to table settings – In the wpDataTables editor, navigate to the “Customize” tab.
- Enable row hover effect – Toggle the option that highlights table rows when users hover over them.
- Save & publish – Your table will now feature interactive row highlights, enhancing user experience.
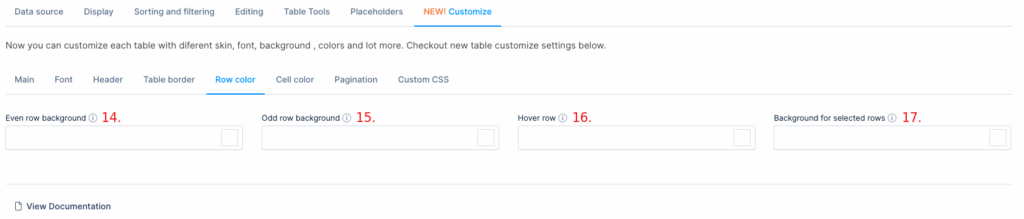
 2. Highlight rows based on data (Conditional Formatting)
If you need to highlight specific rows based on their values (e.g., overdue tasks, high-priority items), you can use wpDataTables’ Conditional Formatting feature.
Steps to apply conditional row formatting:
- Edit your table – Open the wpDataTables table where you want to apply row highlighting.
- Navigate to conditional formatting – Find this option under the “Conditional Formatting” tab.
- Set your rules – Define conditions (e.g., “If Status = Urgent, then background color = red”).
- Save changes – Your table will automatically highlight rows based on the specified conditions.
Why use wpDataTables for row highlighting?
- No coding required – Achieve interactive row effects with simple settings.
- Custom styling options – Adjust colors, hover effects, and row backgrounds visually.
- Dynamic & responsive – Works perfectly on all devices, including mobile.
- Fast performance – Optimized for large datasets without slowing down your website.