Have you ever hovered over an element on a website and been delighted by a small, informative pop-up? That’s a tooltip—a nifty feature that enhances user interaction and provides context without cluttering the interface. As a WordPress enthusiast, you’ve likely seen the potential for these subtle, yet powerful, UI elements.
In this guide, we’ll explore how to seamlessly integrate tooltips into your WordPress site. With the right tooltip plugin and a bit of customization, you can transform your website’s user experience. By the end of this article, you’ll know exactly how to add tooltips that are responsive, stylish, and packed with useful information.
We’ll cover everything from tooltip customization and responsive tooltips to interactive tooltips and advanced settings. Whether you’re looking to enhance tooltip accessibility or delve into tooltip positioning and animation, this guide has got you covered.
Table of Contents
What is a WordPress or CSS Hover Tooltip?
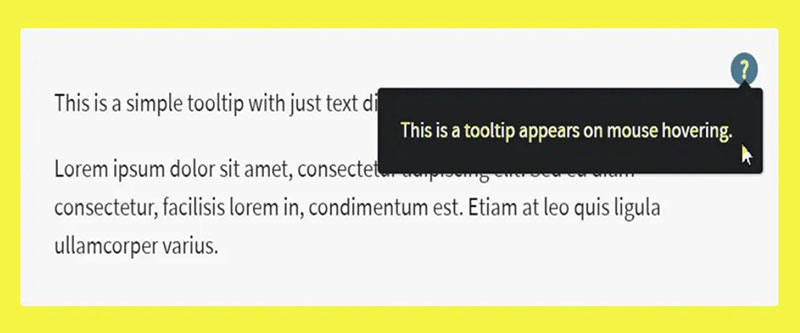
A tooltip is a little textbox that appears when moving the mouse over an area on a WordPress site. These boxes are great for adding additional information about the field.
Moving the information to the box prevents the site from becoming overcrowded.
Some use them, for example, in pricing tables. The text gives a brief description and pricing.
By hovering over them, viewers reveal a detailed description of the item. In this way, the table is not crowded with too much text.
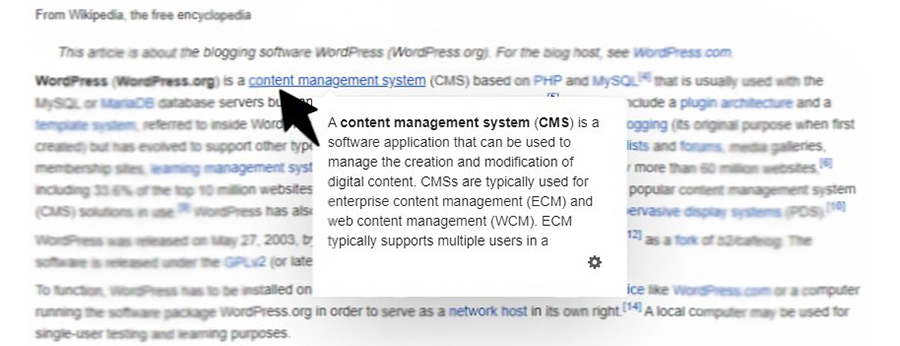
Other examples are word definitions, source crediting, comments, and maps. Basically, any elements can be moved to a tooltip box.
Others use a tooltip to give more information about a photo when hovering over it. This could include time, place, photographer, and much more.
The purpose is to make a point clearer or give more information.
Tooltips are also called glossary terms, hints, or messages. They are useful on mouse-driven computers and mobile WordPress websites and forms.
This is important to take into consideration. Much of the internet browsing nowadays is from a mobile device rather than on a desktop computer.
The space on the screen of a mobile device is much more limited than on a big computer screen. Tooltips are the answer to that problem.
However, take care not to put too much information in the tooltip either.
There are two ways to add a tooltip to a WordPress website. This article will discuss both methods.
First, the use of plugins is reviewed, and then the manual method. The manual method involves a little bit of coding.
Add a WordPress Tooltip with a Plugin
The advantage of a WordPress plugin to add WordPress tooltips is that they save time. So, here is a list of five tooltip WordPress plugins that are easy to use.
Shortcodes Ultimate
The first tooltip plugin is Shortcodes Ultimate. It is simple to use and is compatible with most of the popular WordPress themes.
It does more than add tooltips to WordPress. In fact, it offers more than 50 shortcodes for a variety of functionalities, all for free.
WordPress Tooltips
WordPress is easy to use. It is small, light and fast.
It is a jQuery solution that adds HTML content in the WordPress editor, WYSWYG. Among other things, it adds audio, download links, images, PDFs, social media connections, and videos.
Glossary

Glossary automatically generates word lists based on the content of a website. It groups the words and definitions in a dictionary.
The words and definitions are then linked to the words in the copy. Then it creates the tooltip glossary for it.
WordPress Tooltip

This allows users to add tooltips to plain text and corresponding links on the post or website. It uses the TinyMCE shortcode graphical user interface.
It guides the user through the whole process. So extensive knowledge of coding is not required.
Simple Tooltips plugin
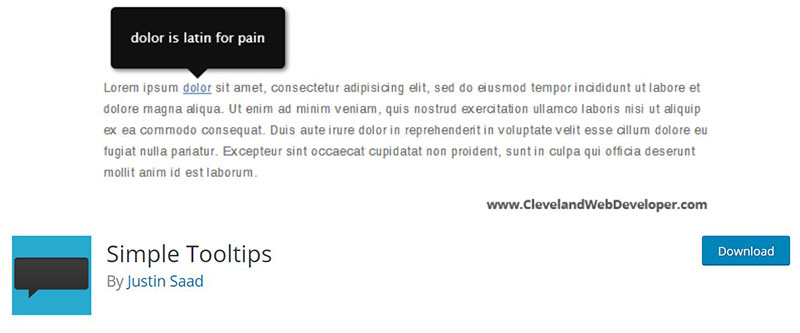
This simply adds an extra button to the post editor. Clicking this button inserts a tooltip shortcode into the content.
Then users add content to the tooltip and assign the element that triggers the tooltip.
Next, the focus shifts to the manual CSS method.
Manually Add a WordPress Tooltip
The previous section discussed the use of a WordPress plugin to add tooltips to a WordPress site. What plugins do behind the scenes is to set several CSS styles.
It then allows the user to choose from a set of settings to customize the tooltip. The plugin will then generate the shortcode.
Of course, it is possible to perform all these tasks manually. It does require advanced knowledge of HTML and jQuery.
When the code is already generated it is only a matter of adding this.
The additional trick is the addition of CSS to the theme. The easiest way to do this is by using the WordPress Customizer.
Go to the Theme Customizer
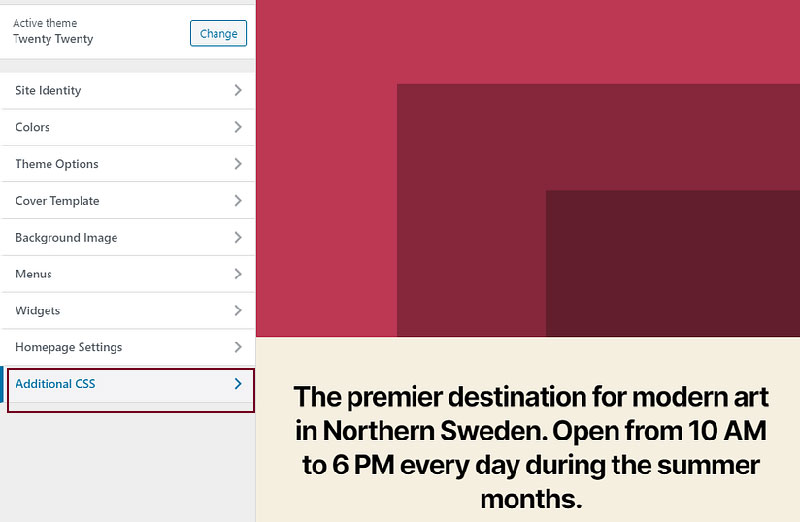
- Open the WordPress dashboard.
- Click Appearance. It is in the main menu on the left.
- Then click Themes.
- Find the currently active theme.
- Press Customize. Now WordPress will open the Theme Editor.
- Click Additional CSS at the bottom of the screen.
- Add three new CSS classes to the theme:
- For the tooltip box
- For the text
- For hiding everything
Add CSS classes to the theme
This is what the three CSS classes need to do:
- Defines the tooltip container and its position in relation to the parent text.
- Defines the alignment, color, size, etc., of the text in the tooltip box.
- Controls when the text is hidden and appears when hovered over.
This code that does these things will look something like this:
.tooltip {
position: relative;
display: inline-block;
border-bottom: 1px dotted
black;}

.tooltip .tooltiptext {
visibility: hidden;
width: 120px;
background-color: black;
color: #fff;
text-align: center;
border-radius: 6px;
padding: 5px 0;

/* Position the tooltip */
position: absolute;
z-index: 1;}

.tooltip:hover .tooltiptext {
visibility: visible;}
These strings of code generate an empty box and position it relative to the parent text. Then, it makes up the text and defines parameters like alignment, color, and padding.
The final part hides the box until it needs to appear when hovered over the parent element.
Add tooltips using Block Editor
After adding the CSS classes to the theme, be sure to save them. Now the WordPress tooltips are ready to add to the WordPress sites.
To add them:
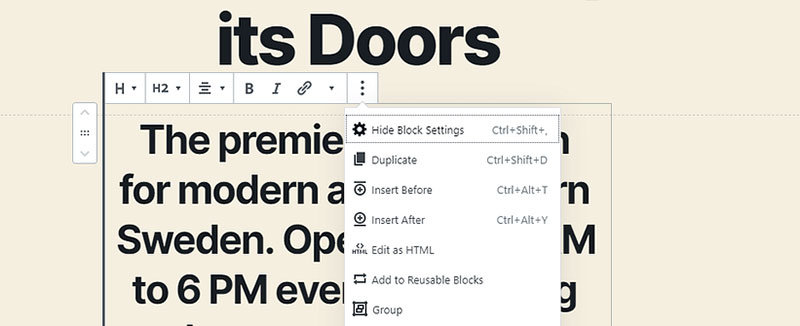
- Go to the Block Editor for the page where the tooltips need to go.
- Select the parent text where the WordPress tooltip needs to appear.
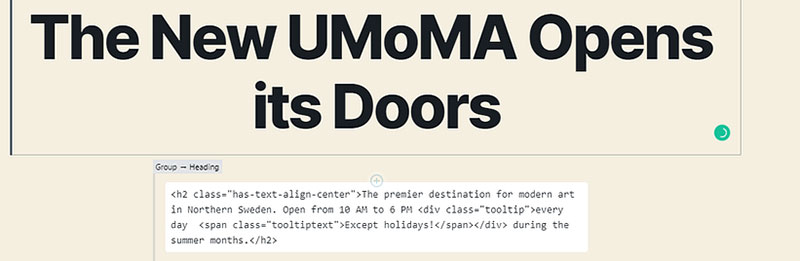
- Set the HTML option to Edit.
- Add the text for the tooltip and other information that should appear in the tooltip box:
<div

class="tooltip-text">Parent text

  <span class="tooltiptext">Tooltip

text here!</span>

</div>
- Add the tooltip-text CSS class to the div. That is the CSS class added with the customizer in the previous step.
Change the name if it received a different name when it was added.
- After entering all the HTML code into the correct block, click Update.
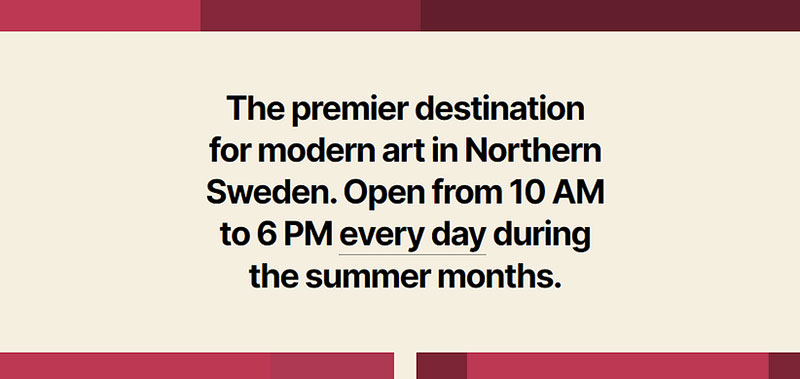
- Make sure that everything works by going to the website.
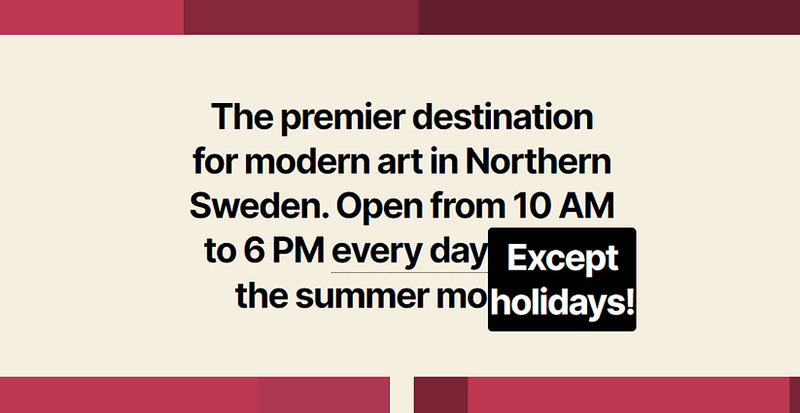
Style the WordPress tooltips in the same way as other CSS elements.
Change the color, customize the box, and so on. Make it fit in with the rest of the website design.
FAQ on adding WordPress tooltips
What is a tooltip in WordPress?
A tooltip in WordPress is a small pop-up box that appears when a user hovers over or clicks on an element. It provides additional information or context about the item without cluttering the page. Tooltips enhance user experience by delivering quick insights.
Why should I use tooltips on my WordPress site?
Tooltips enrich the user interface by providing concise explanations or instructions directly on the elements users interact with. They help in clarifying complex terms, guiding through forms, and improving overall accessibility, making your website more user-friendly and informative.
Which WordPress tooltip plugins are the best?
Several tooltip plugins stand out for their ease of use and customization options. Some top choices include Tooltip Pro, WordPress Tooltip Plugin, and Tooltipster. These plugins offer a range of features from customization to responsive tooltips and are highly rated by the community.
How do I add a tooltip using a plugin?
First, install and activate your chosen tooltip plugin from the WordPress repository. Then, follow the plugin’s instructions to create tooltips. Usually, you can add tooltips using shortcodes or directly through the plugin’s interface, customizing tooltip text, positioning, and animation.
Can I customize the appearance of my tooltips?
Absolutely! Most tooltip plugins allow extensive tooltip customization. You can adjust tooltip background color, font size, and tooltip styles. Some plugins also let you add animations and hover effects to make your tooltips more engaging and aligned with your website’s design.
How can I make my tooltips responsive?
To ensure your tooltips are responsive, choose a tooltip plugin that supports mobile-friendly design. These plugins automatically adjust tooltip display settings for different screen sizes, ensuring a seamless experience on both desktop and mobile devices.
What are common issues with tooltips, and how do I troubleshoot them?
Common issues include tooltips not displaying correctly, overlapping content, or causing performance lags. Troubleshoot by checking plugin settings, ensuring no conflicts with other scripts, and verifying CSS and JavaScript configurations. Most issues can be resolved by adjusting tooltip settings or updating the plugin.
How do I position tooltips correctly?
Proper tooltip positioning is crucial for usability. Most plugins offer settings to adjust where the tooltip appears relative to the target element. You can typically choose from top, bottom, left, or right positions. Test different settings to ensure tooltips don’t obstruct important content.
Can I add tooltips to images in WordPress?
Yes, tooltips can be added to images to provide additional information or context. Use your tooltip plugin to select the image element and add the desired tooltip content. This is especially useful for galleries or informational images where extra details enhance understanding.
Are there any best practices for using tooltips in WordPress?
Keep tooltips concise and relevant. Ensure they are easily accessible and don’t obstruct important content. Use tooltip triggers wisely (hover or click) and maintain consistent tooltip styles across your site. Regularly test on different devices to ensure responsive tooltips work smoothly.
Conclusion
Understanding how to add a WordPress tooltip can significantly elevate your website’s user experience. By now, you should be well-equipped to integrate tooltips that are not only informative but also visually engaging.
Whether you opt for a simple tooltip plugin or dive into advanced customization and tooltip positioning, these small details make a big difference. From enhancing accessibility to improving user engagement, tooltips are a versatile tool in your web design arsenal.
Remember, the key is to maintain clarity and consistency. Use tooltip text wisely to avoid clutter, ensure responsive tooltips for mobile users, and keep your tooltip styles aligned with your overall site design.
Incorporate interactive tooltips and explore tooltip settings to fine-tune your user interface. The journey to mastering WordPress tooltips is ongoing, but with these insights, you’re well on your way to creating a more intuitive and dynamic website.
If you enjoyed reading this article on adding a WordPress tooltip, you should check out this one on how to delete WordPress themes.
We also wrote about a few related subjects like how to watermark images, how to check the WordPress version, creating a comparison table with WordPress plugins, how to upload an HTML file in WordPress, where are WordPress pages stored and why is WordPress so hard to use.