

Table of Contents
When your data set is larger than a couple of thousand rows, it can’t effectively be loaded onto the page from a Google Spreadsheet, a CSV or Excel file, or other sources. Each of these methods first reads the data from the source, and then prints out the complete table data on your page; so, as the row count grows, it makes both the page generation time on the server side and the page load and initialization time on the client side, slower and slower. If your host has a certain memory or timeout limit defined for PHP scripts, it can ‘break’ the page, because the script would try to allocate more memory than it’s allowed. But no worries! wpDataTables has a solution for that – datatables server-side processing!
Server-side processing is available only for tables saved in the database (SQL tables); consequently, all filtering, sorting, pagination, and other data processing routines will be delegated to the MySQL engine, and only a smaller number of rows will be fetched from the server by a background AJAX request at a time. If you wanted to find out how to improve SQL performance, this is it.
Please refer to this documentation section for a full explanation of the Server-side processing feature.
This tutorial will use a data set of 2.560.000 rows; you can download the SQL dump sample (only 10.000 rows, because the whole dump is very large) using this link. A table without server-side processing with 2.560.000 rows would typically require 5-15 minutes for loading (if it loaded at all). Let’s see how it performs with server-side processing enabled. Just try to filter or sort the table.
The step-by-step tutorial on how to create one of these huge tables with no hassle.

The first thing to be done is to prepare the data on the MySQL side. Normally, you would already have tables and the query but here we will assume that you use the same sample table as in the example on this page.
Here’s the link to download the SQL dump of this table.
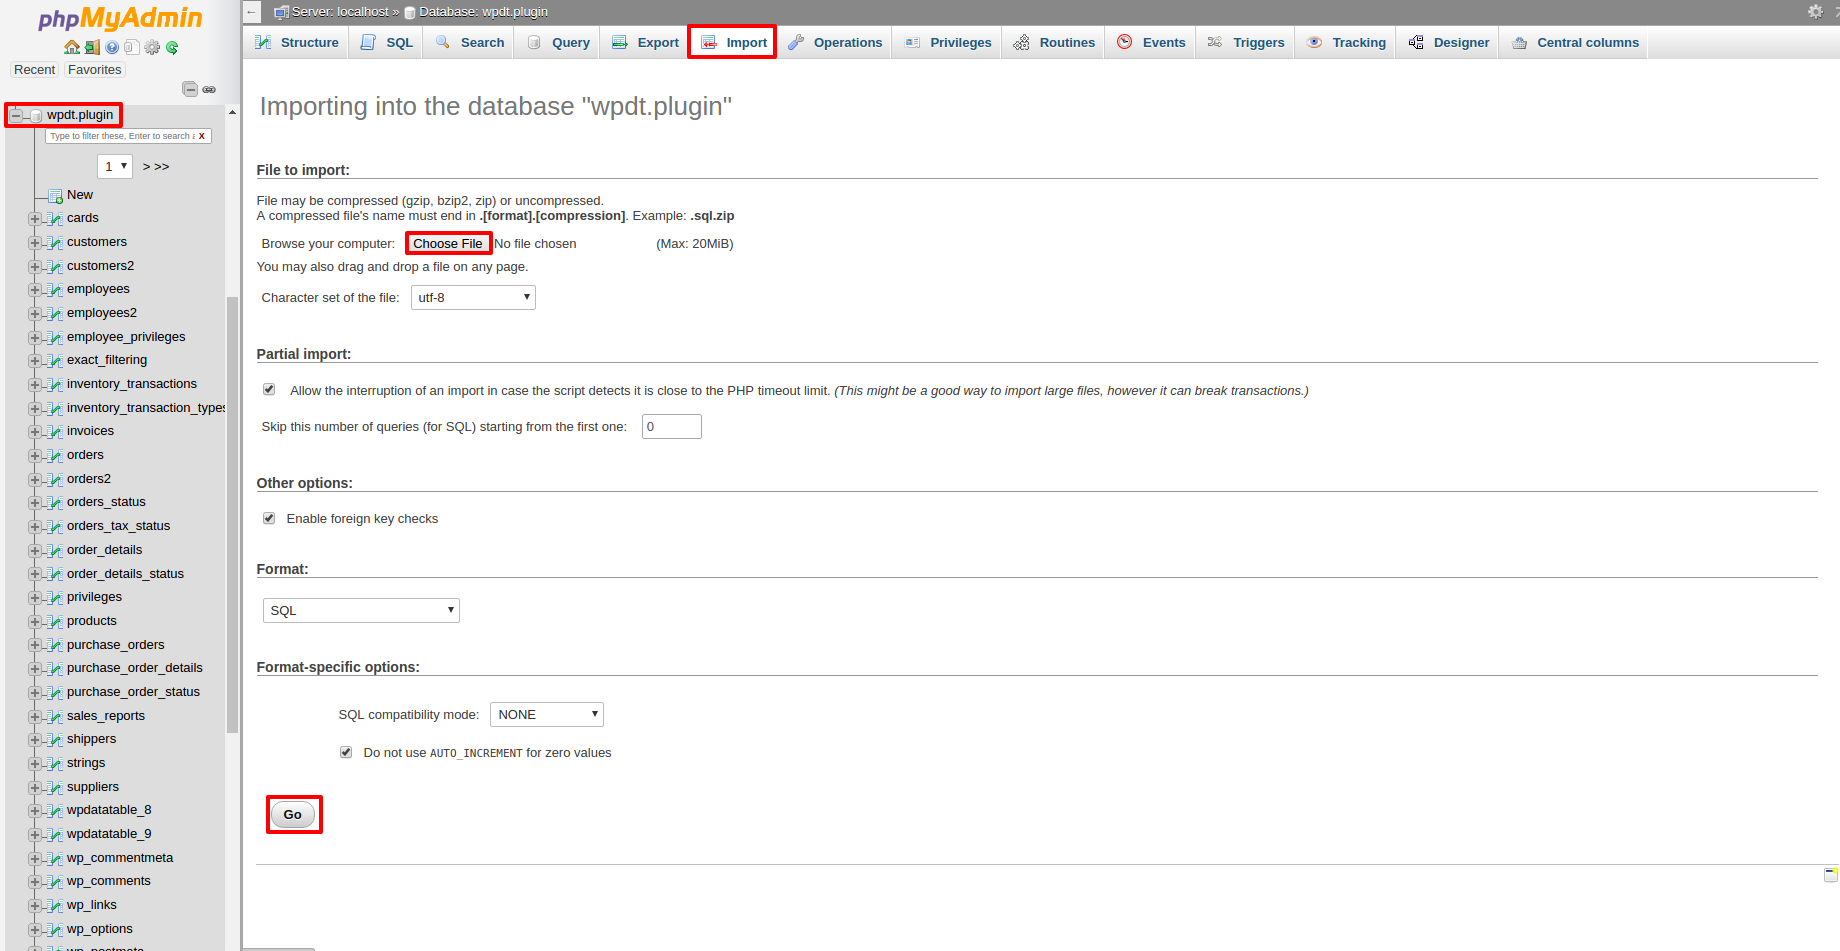
Go to your phpMyAdmin, choose the database that wpDataTables is configured to use, open the “Import” tab, go to “Choose file“, open the file that you just downloaded, and click “Go” so that phpMyAdmin will import the table.

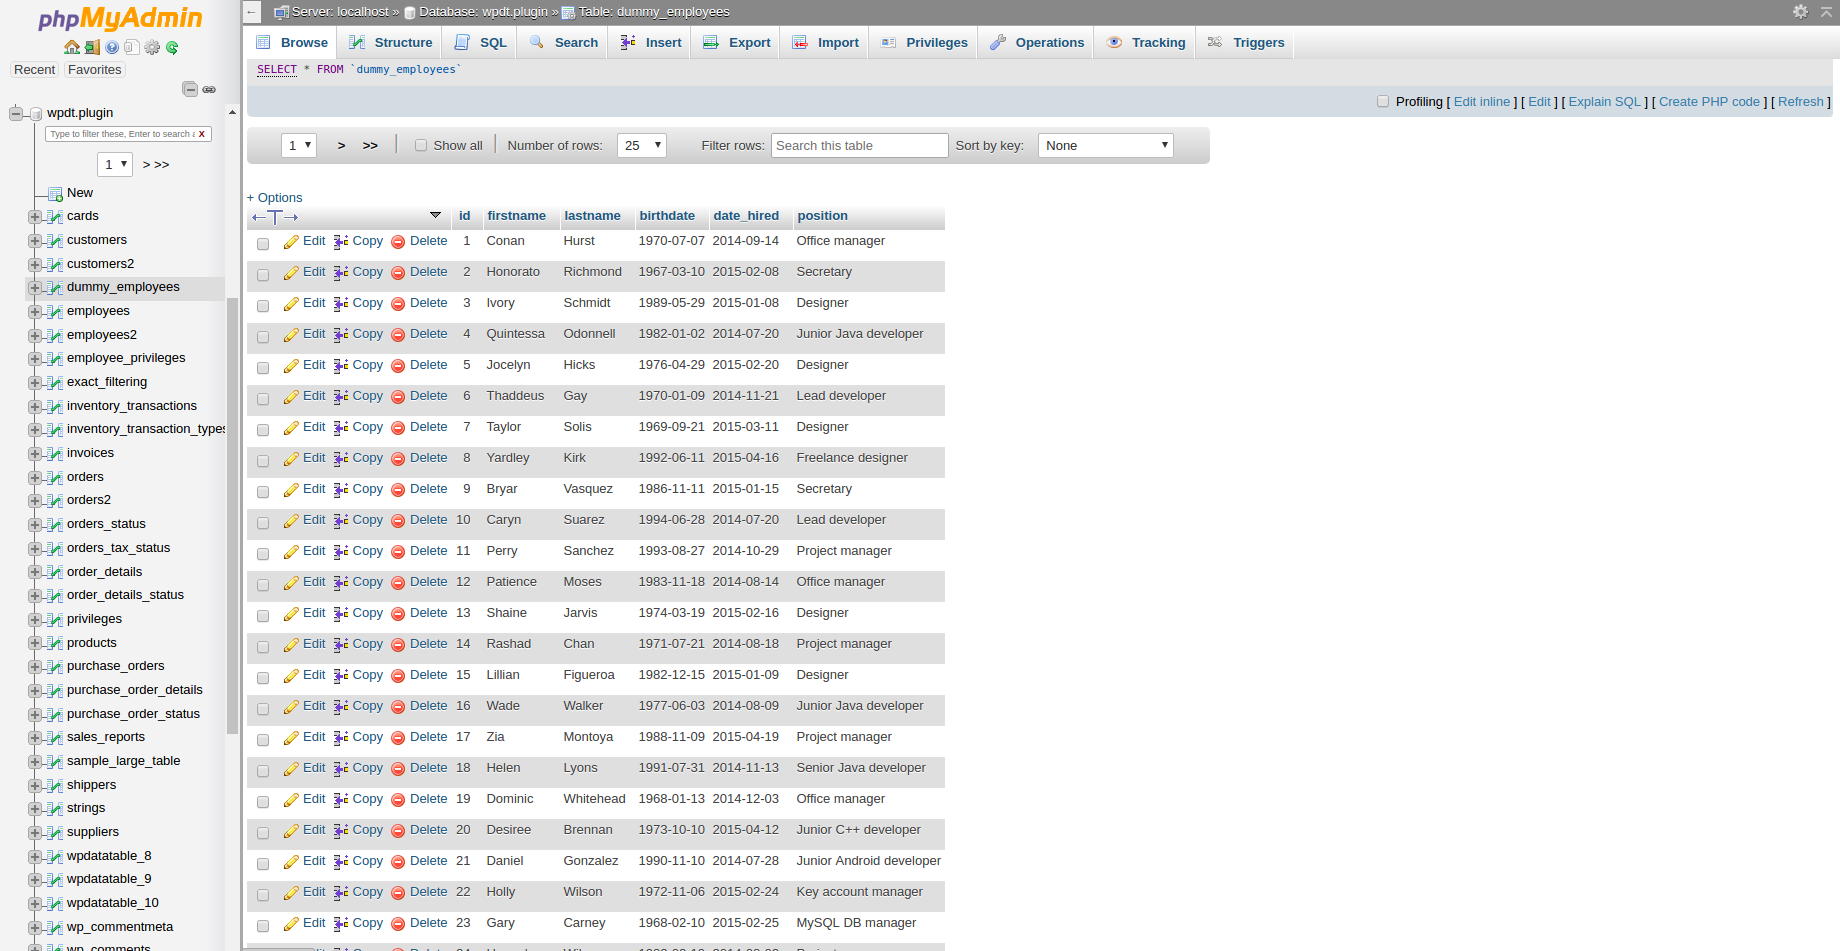
You can then click on the “sample_large_table” in the tables browser on the left to verify if the data loaded correctly.
Once the data is loaded, we need to prepare an SQL query that will fetch this data from MySQL. In this case, it’s simple: “SELECT * FROM sample_large_table“. You can try this query out in the SQL tab of PHPMyAdmin to see that it returns the information we need.
Once the query is prepared, we can build a wpDataTable based on it.
Please open your WordPress admin, and:

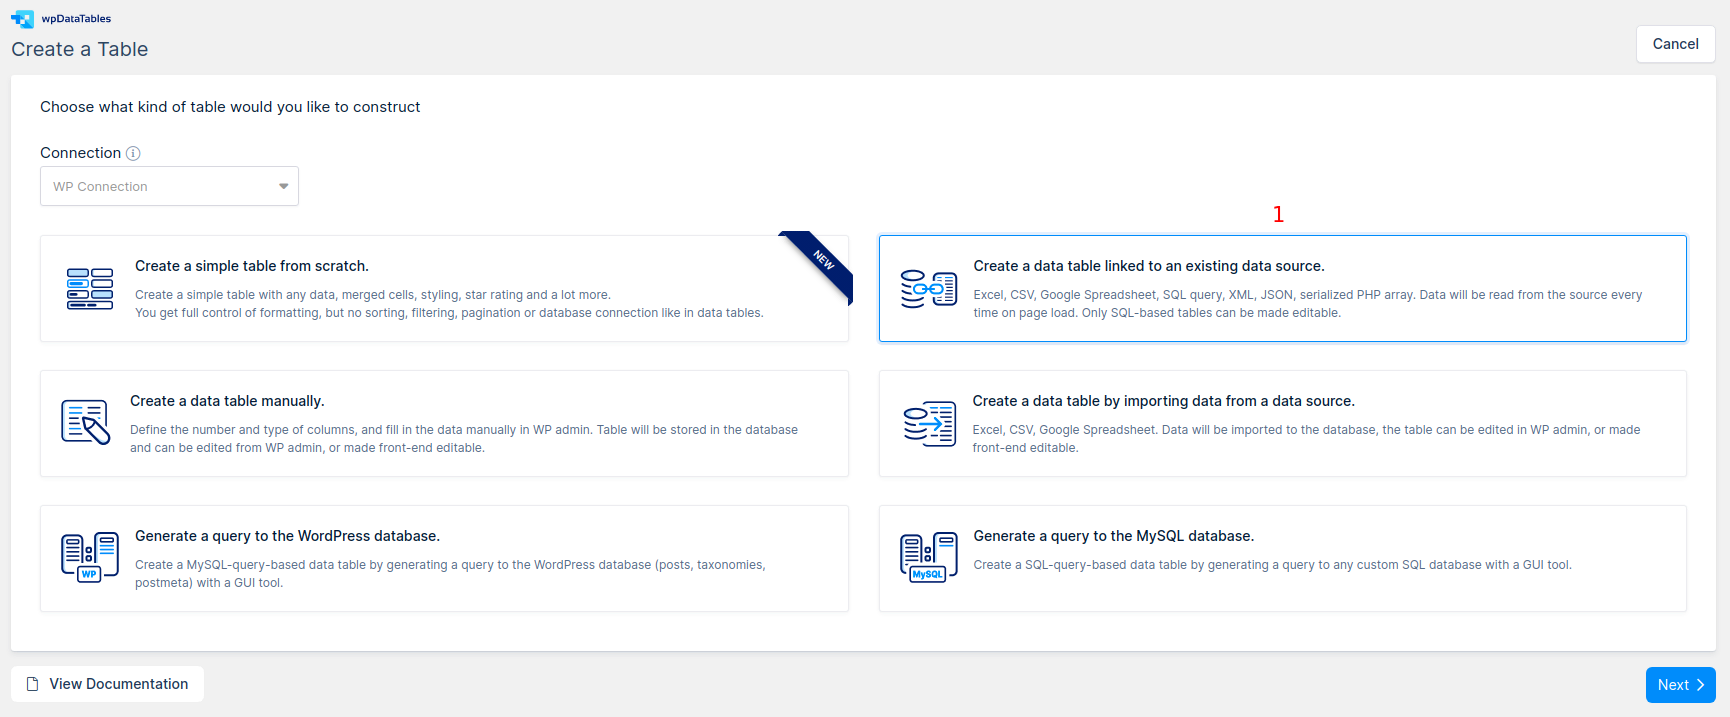
1. Go to wpDataTables -> Create a Table, and choose Create a table linked to an existing data source option.

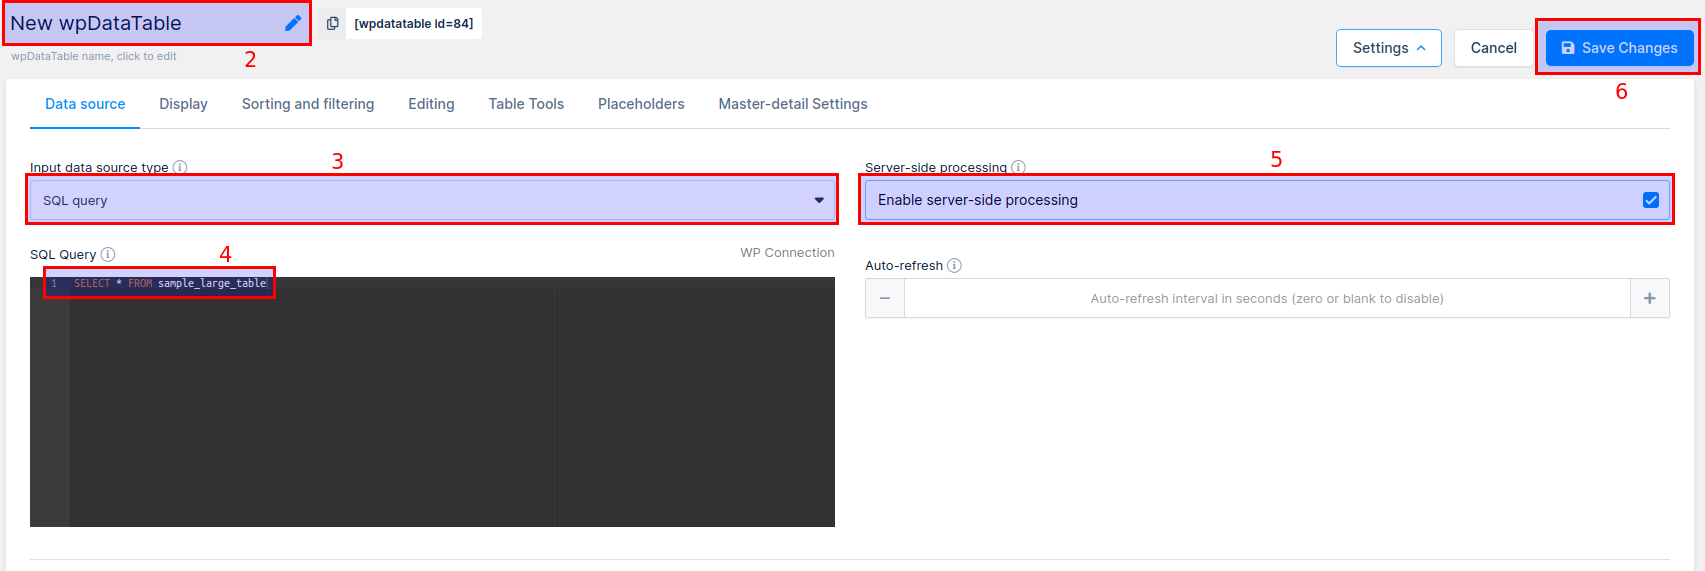
2. Provide a name for your new table in the wpDataTable name input to identify it among others.
3. Choose MySQL query in the Input data source type select-box.
4. Put the SQL query prepared in the step 1 in the MySQL Query editor (“SELECT * FROM sample_large_table“).
5. Make sure that Server-side processing checkbox is enabled.
6. Click Save Changes, so that wpDataTables will initialize the table and columns metadata from the results of this query.
At this point table is already prepared. But to improve usability, we need to define some additional settings for the table and for its columns.
1. Enabled Limit table width and Word Wrap checkboxes.
2. Disabled the Visible checkbox for “id” column.
3. Defined additional informative and readable Displayed headers for the columns – “Name” instead of “name“, “Order Date” instead of “order_date“, “Product” instead of “product“, “Amount” instead of “amount“, “Total” instead of “total“.
4. Set the Filter type for “Company” as “Select box”.
5. Set the Filter type for “Order Date” column as “Date Range”.
6. Set the Filter type for “Product” as “Select box”.
7. Set the Filter type for “Amount” as a “Number Range”, set the Width to “10%”
8. Set the Filter type for “Total” as “Number Range”, Column type to “Float”, Display text before as “$” so that currency sign would be displayed, and Width to “10%“.

When you finish preparing your MySQL-based wpDataTable, you simly need to insert it into your post or page.
1. Create or open a WordPress post or page,
2. Place the cursor in the position where you want to insert your table.
3. Click the “Insert a wpDataTable” button in the MCE editor panel.
4. Choose the MySQL-based table that you prepared from the list and click OK.
If you are using Gutenberg editor, Elementor, or WPBakery page builder, you can check out the section for Adding wpDataTables shortcodes on the page.
To get your hands on wpDataTables Lite, please enter your email address below. We’ll send you a direct download link and keep you updated on existing features along with helpful tips and tricks!
