

Table of Contents

wpDataTables comes with 45 worldwide languages for the main interface features (provided by jQuery DataTables internationalization). You can have the interface presented in your language by selecting it from this select box.
Only the main table features are covered in this language interfacing package. This means that table tools such as “Copy”, “Print”, “Excel”, etc., and advanced filtering labels aren’t translated, although you can translate them yourself if you wish.
This select box allows you to choose from 17 common date formats for use in the date columns, and for all responsive date pickers.
This select box allows you to choose between a 12H time format and a 24H time format. It will be used in the time column and for all time pickers.
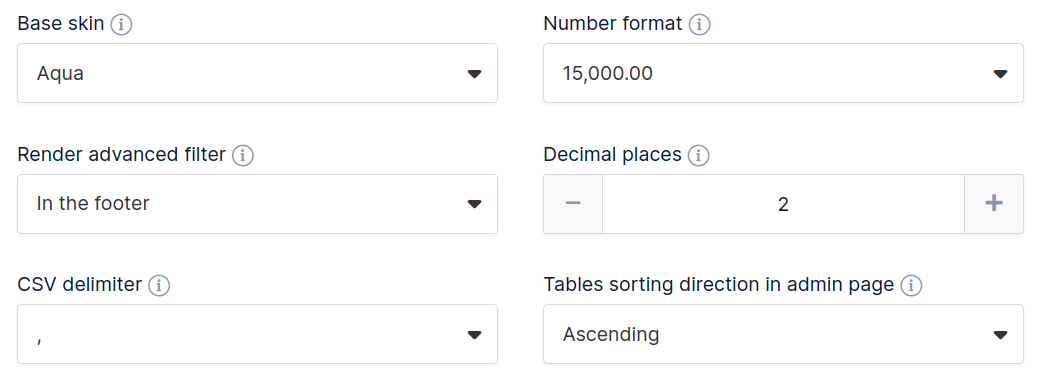
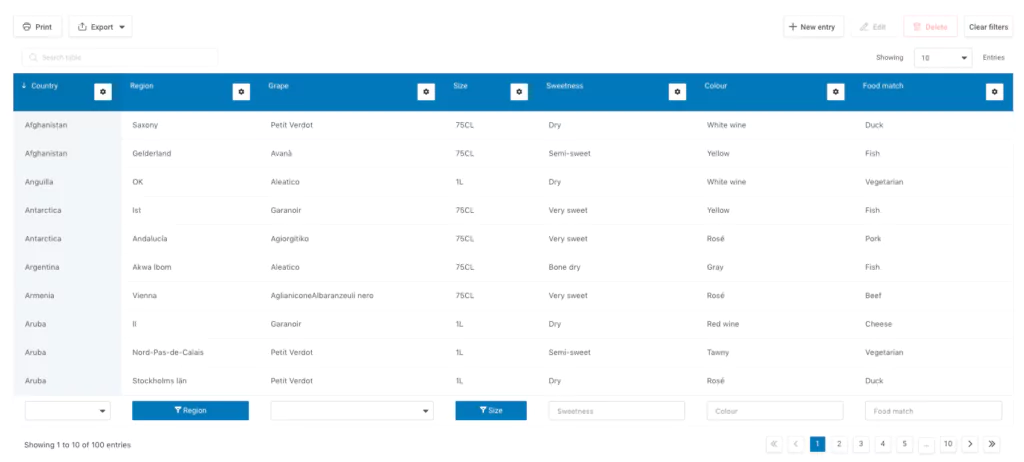
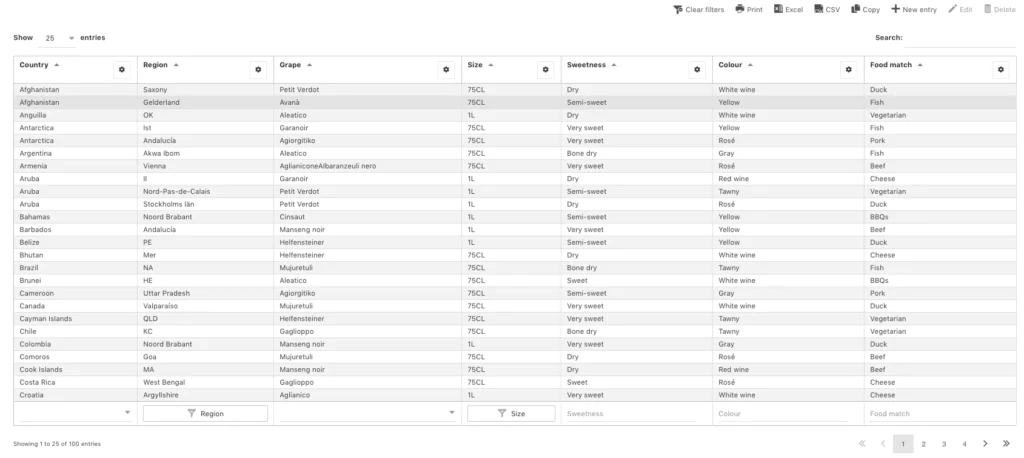
wpDataTables has several built-in skins you can use to set the general look and feel of the table front-end. With this tab, you can choose one of them. (Aqua, Graphite, Material, Light, Purple, and Dark)
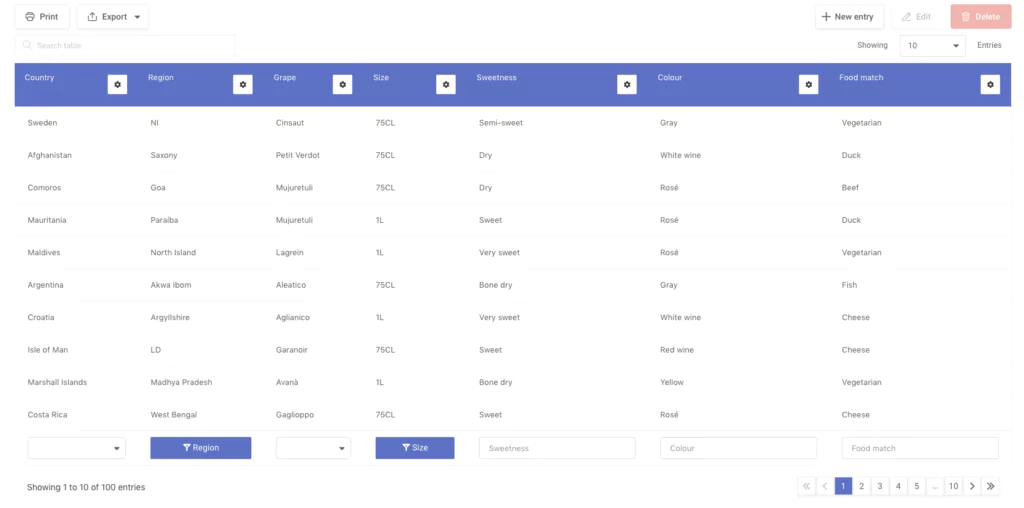
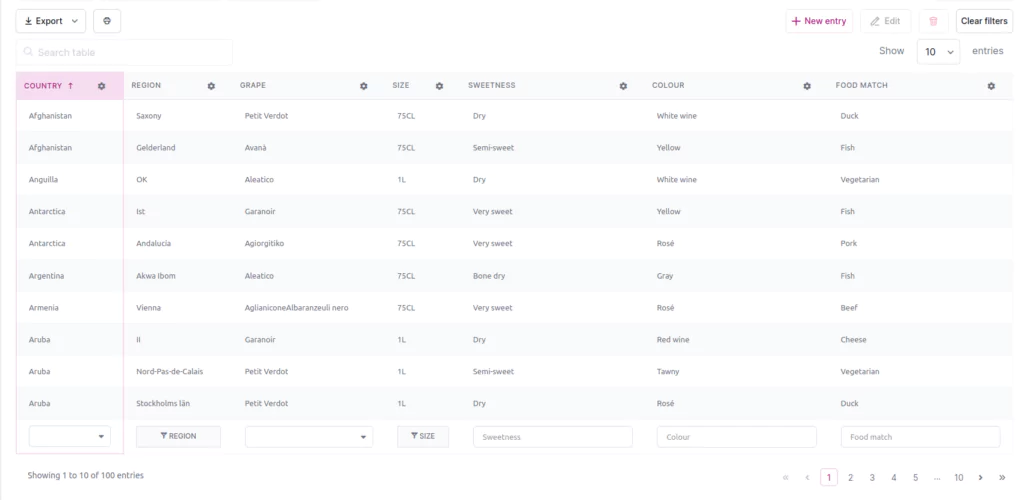
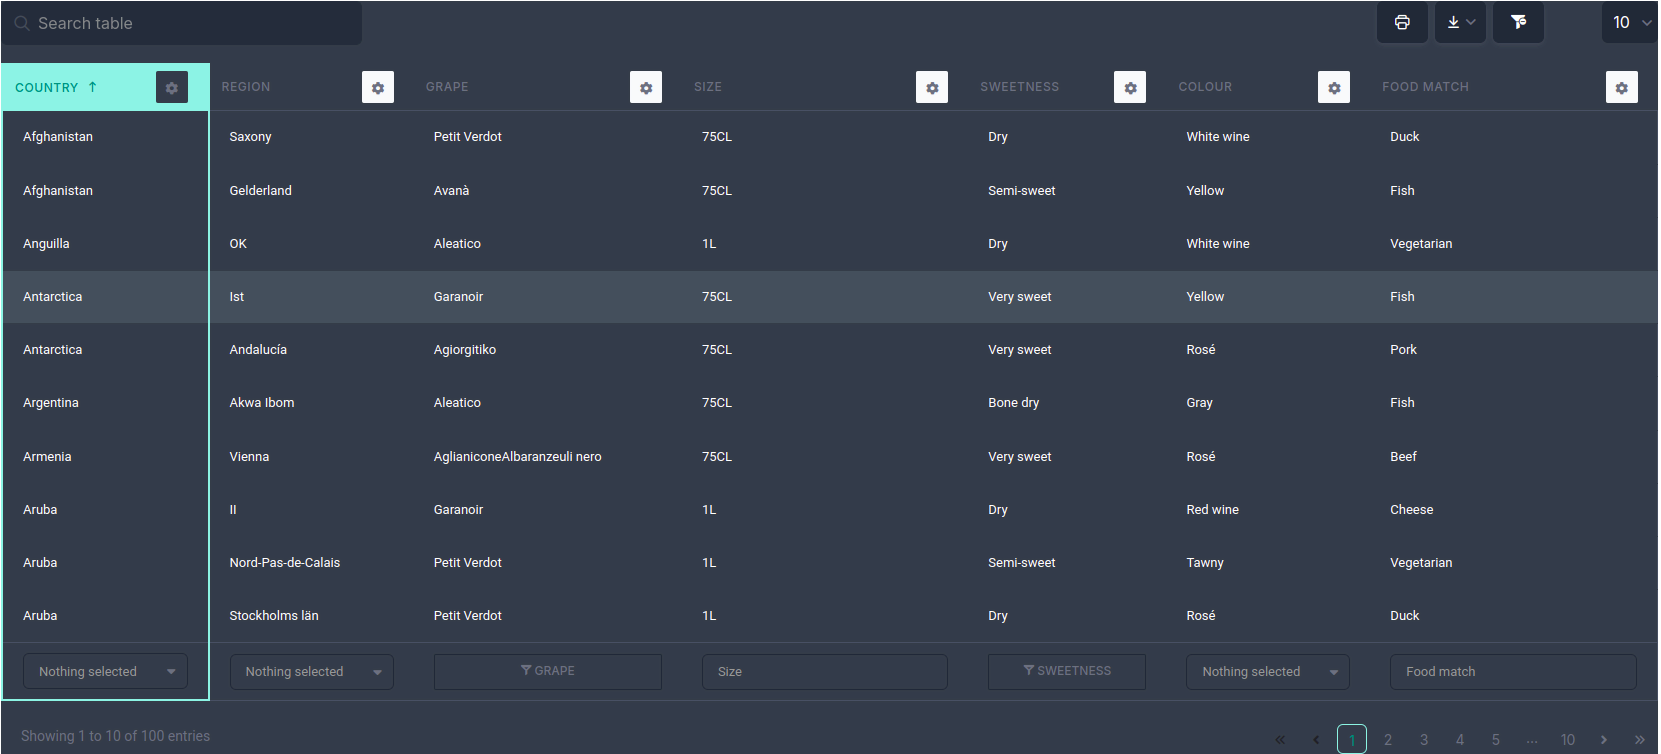
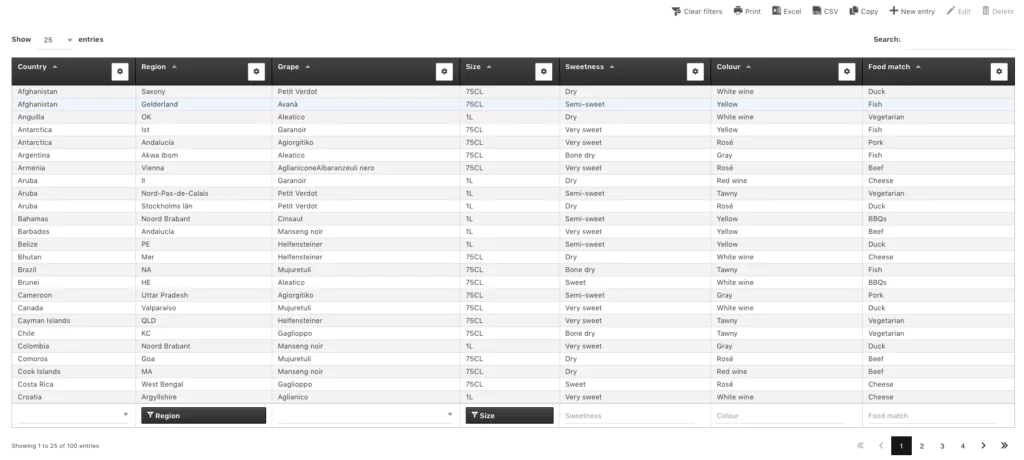
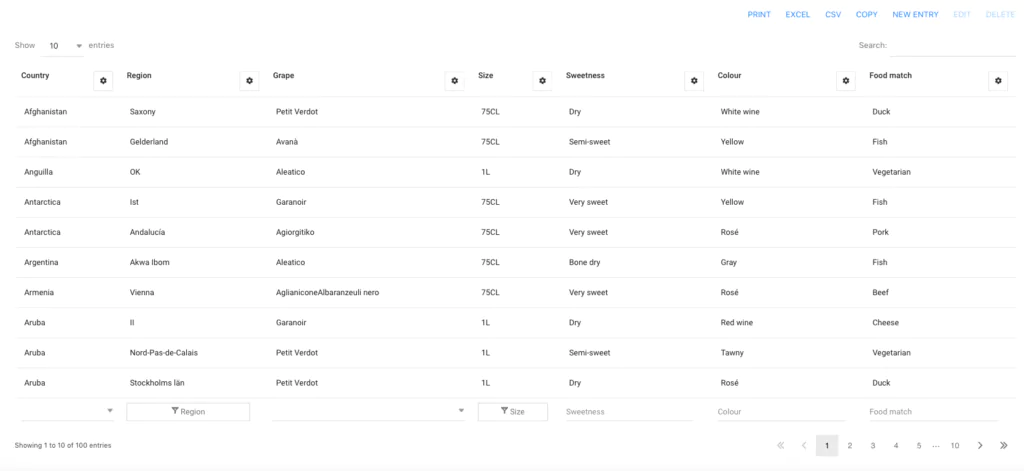
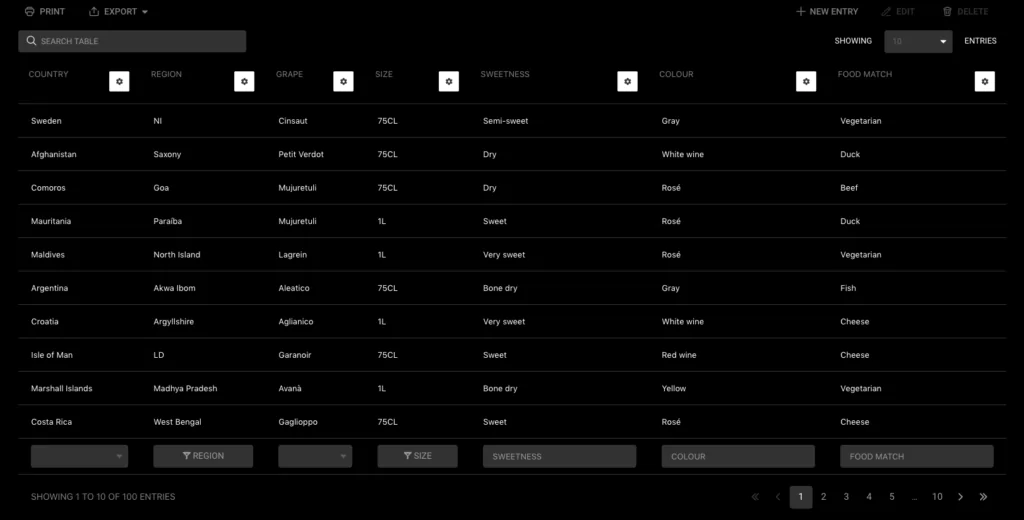
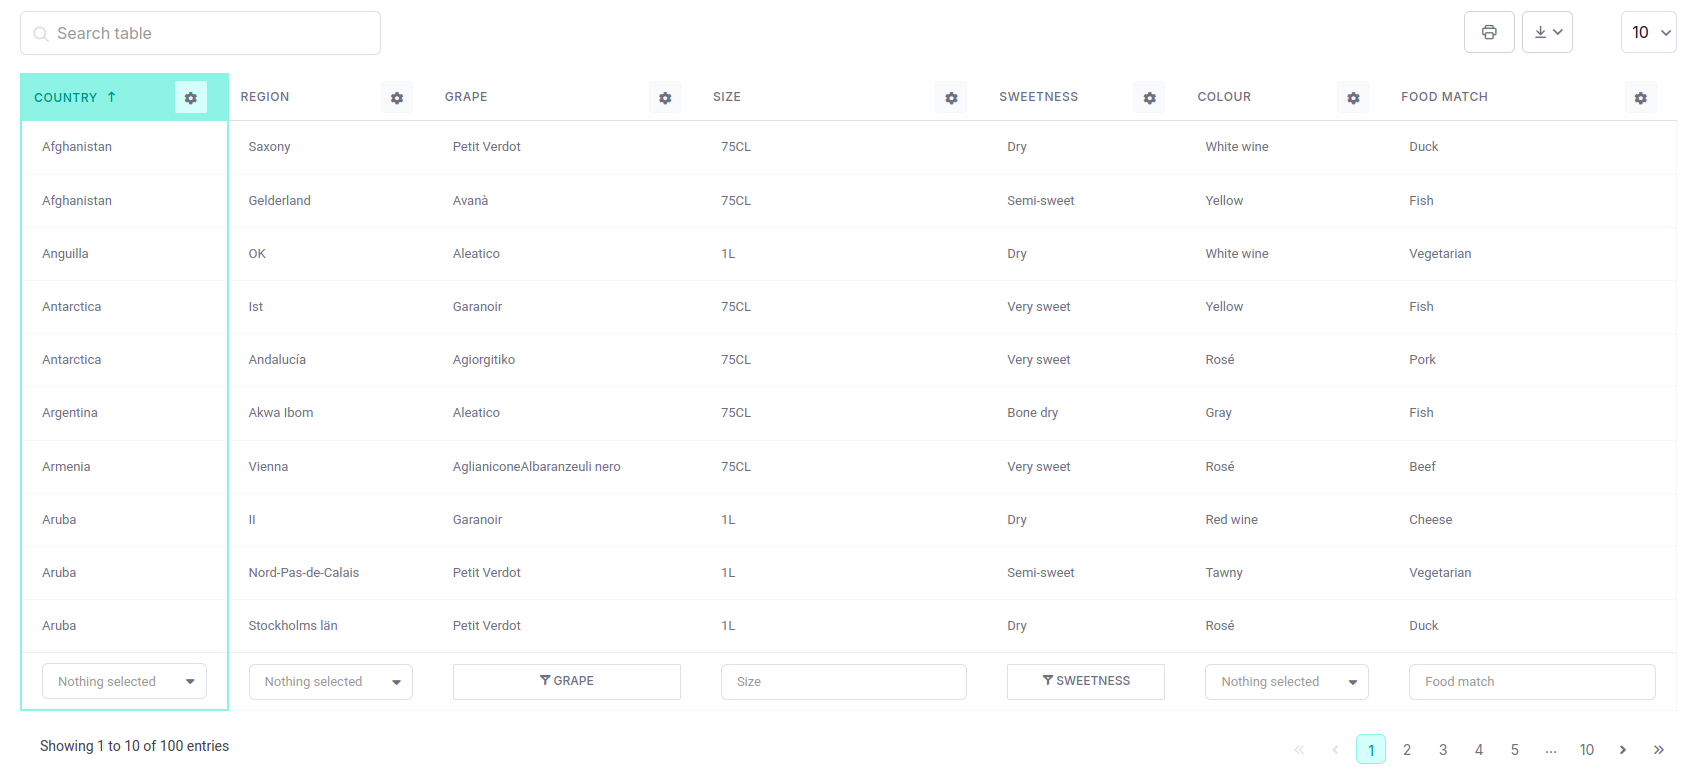
With this tab, you can choose the output format for the numbers – which sign to use for the thousands separator, and which sign to use for decimals.
With this tab, you can select the advanced filtering position when filtering is enabled – in a table header or footer (it is also possible to render filters in a form above the table, and this can be defined per table).
Here you can set sorting direction by ID for browsing tables and charts. By default is in ascending order.
This tab allows you to define how many decimal places the floats will have, so they’ll render in a similar manner. This setting can be overridden for specific columns.
Ever since wpDataTables v2.2.3, you can choose and set the CSV delimiter. wpDataTables recognize a comma ( , ) as a delimiter, but now you can import CSV files with different delimiters. Once you create a table go to Settings, choose the delimiter that matches the one in your file, click Apply and the plugin will recognize the delimiter and create a table.

With this setting, you can redefine the width the plugin will recognize as the tablet width. It can be used to trigger the responsive mode on desktops as well – and set the width (to 1920 for example).
This setting allows you to redefine the width the plugin will recognize as the mobile device width.
This setting allows you to determine how many tables will be visible on the “Browse wpDataTables” admin page. This setting is also used for “Browse wpDataCharts”.
If this checkbox is checked, all numbers will be aligned to the right in the table columns.
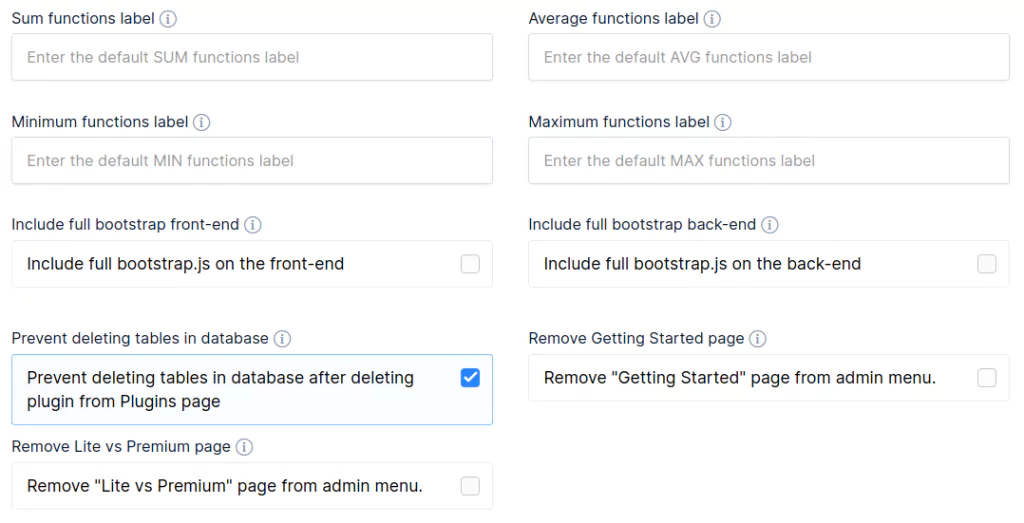
This is where you can set the labels that will be used for the Sum, Average, Minimum, and Maximum functions. If you leave these inputs blank, the default labels will be “Sum =”, “Avg =”, “Min =”, “Max =”
You can choose whether you want to keep the tables after deleting the plugin from the Plugins page (by default the tables will be saved in the database after deleting the plugin).
If bootstrap.js is already included in one of the theme files it is recommended to uncheck this option. The unchecked option means that bootstrap.js is still included but in the no-conflict mode which should prevent errors.
If you don’t need “Gettings Started” and “Lite vs Premium” pages from the admin menu, you can check those options to remove them.
Enable this setting if you want to build tables using data from a database or host different from the one you use for your WordPress installation.
Do not check this checkbox if you want to use the WordPress database connection.
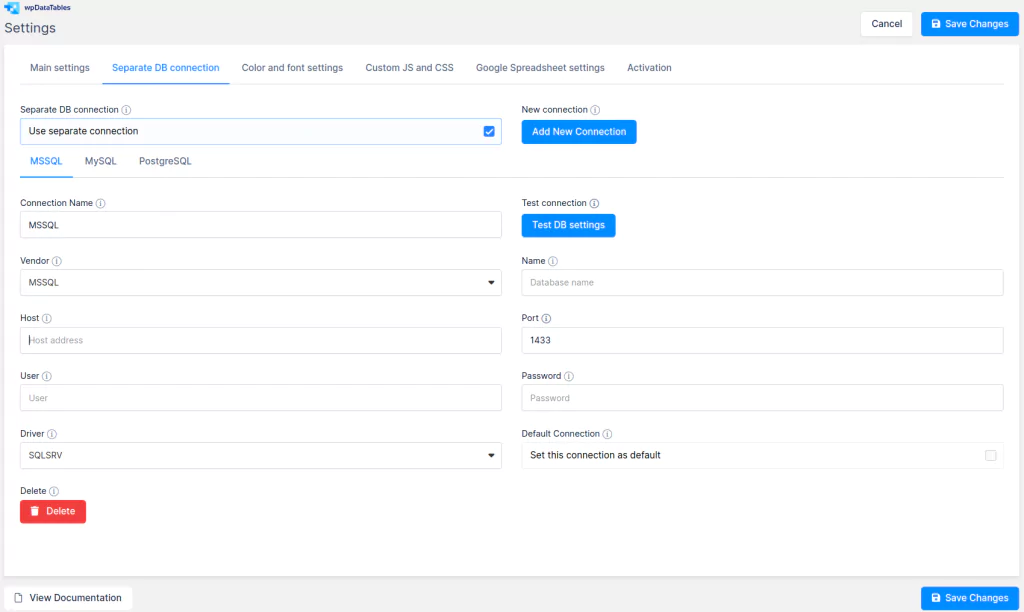
From the 2.3 version of wpDataTables, there is an option to add more than one separate database connection. Now every table can have its own separate database connection, so tables can pull data from multiple databases and servers.
There are separate database connections for MySQL, MS SQL, and PostgreSQL databases.
If you enable this switch, you’ll also need to provide the following data to be able to query the chosen database:
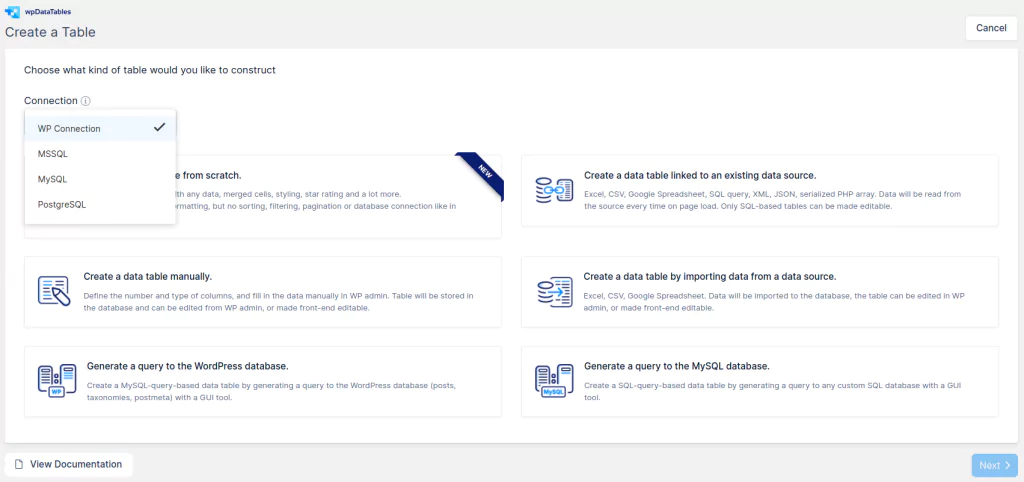
If you successfully connected to your separate database, now when you create a new table you will have an option to choose which database will be used for creating the new tables.
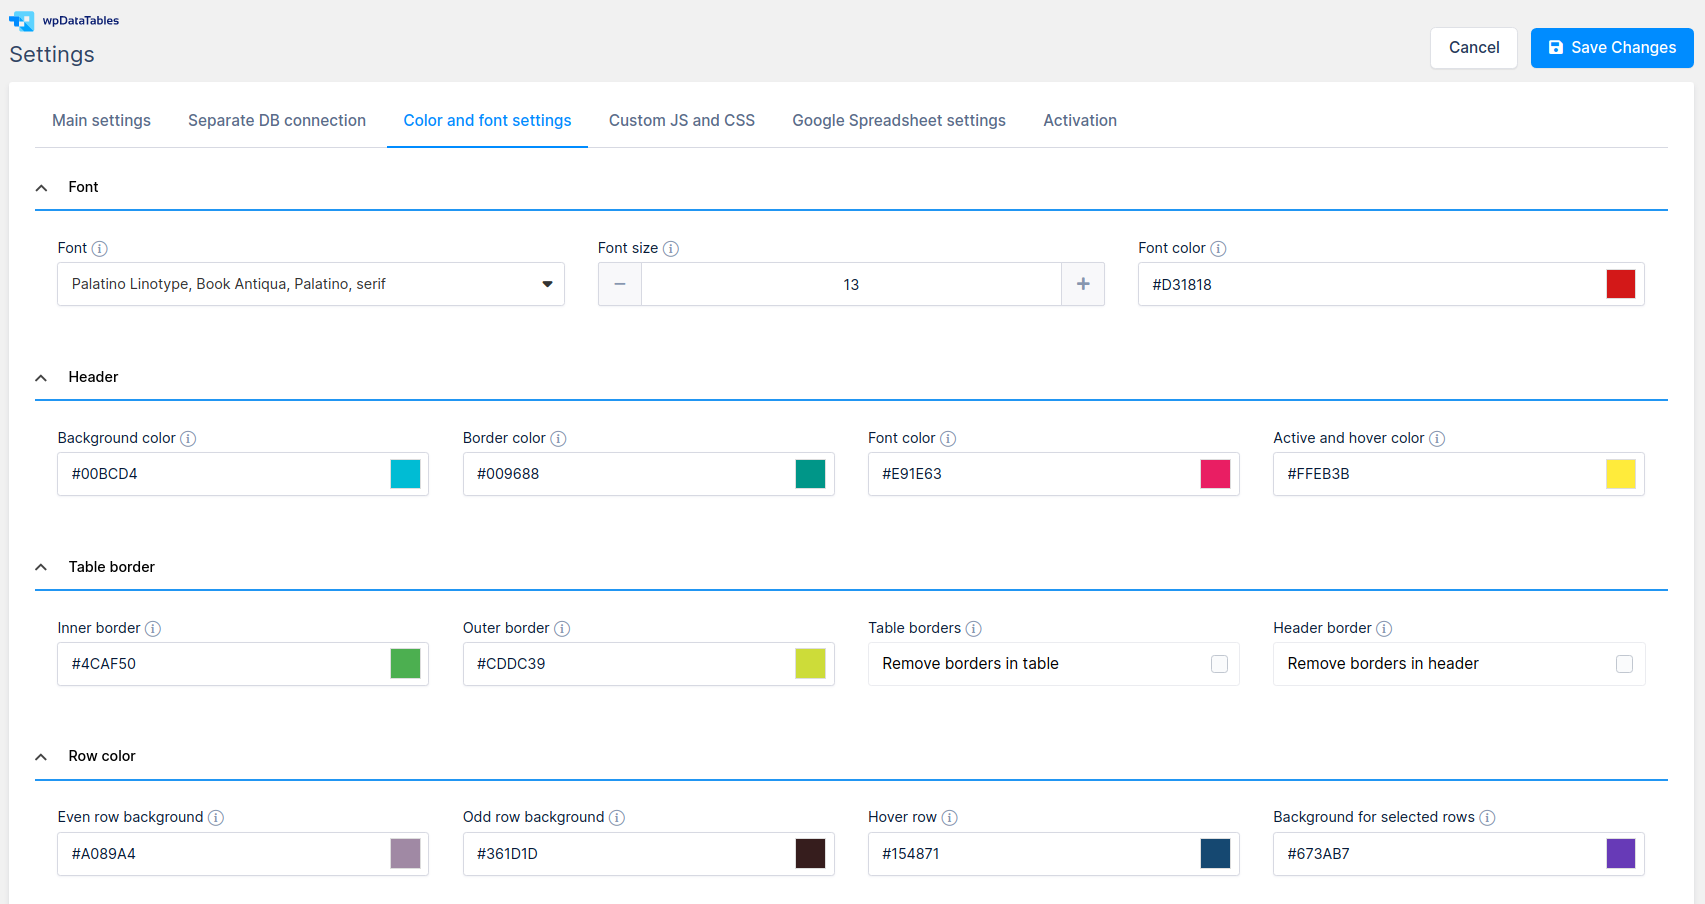
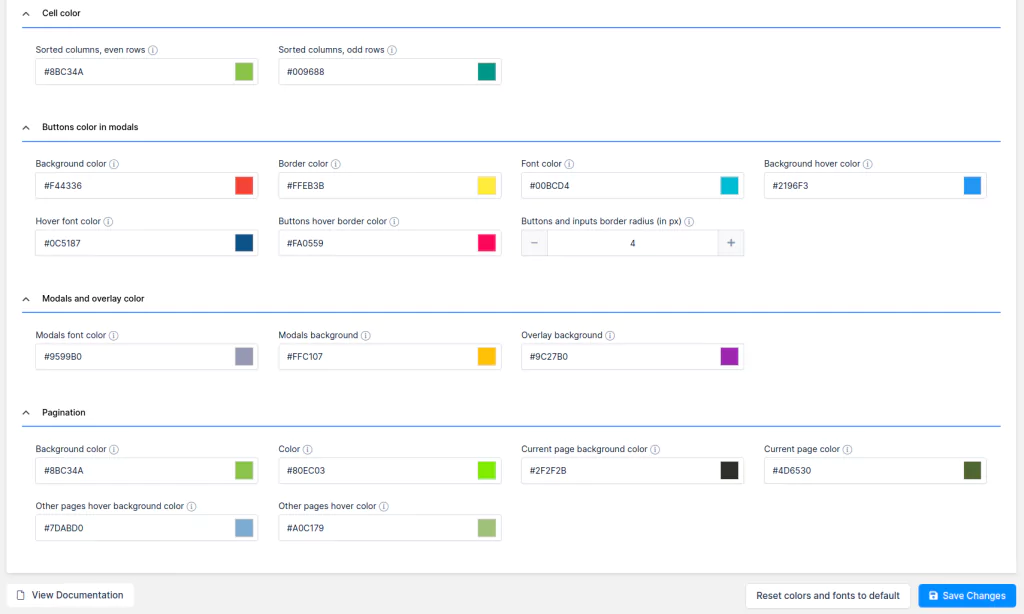
Here you’ll find a list of the settings that allow you to change the look of the tables rendered by the plugin. You can change:
You will find a short explanation beside each style setting explaining which element it will change.
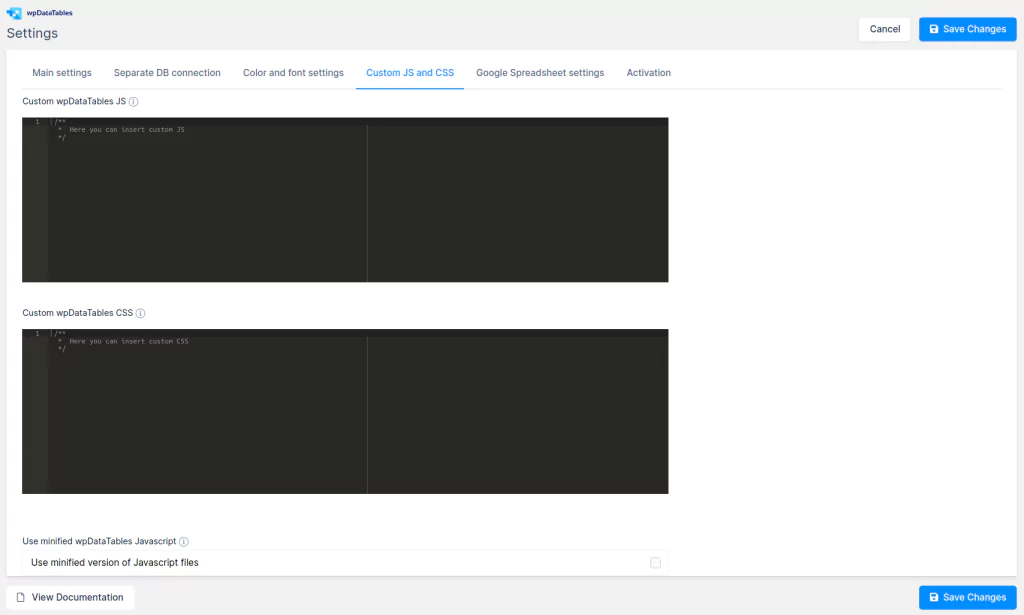
With this setting, you can define any custom JavaScript you executed on the pages that have wpDataTables; e.g. auto-refresh, or something similar.
With this setting, you can define any CSS rules you applied to the pages that have wpDataTables. For example, hiding the search block, pagination, etc.
By default, the minified files are attached to the pages. You can uncheck this if you wish; for example, to modify the JavaScript – it’s much easier to edit the unminified files.
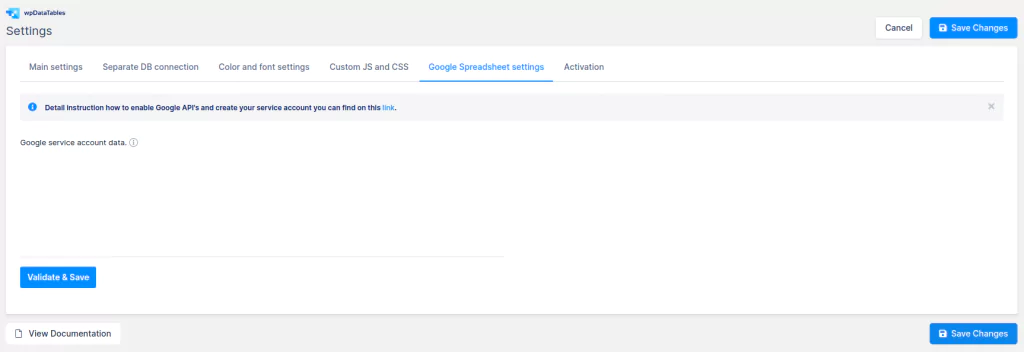
Here you can connect with Google Sheet API. For detailed instructions on how to do that, please check this link.

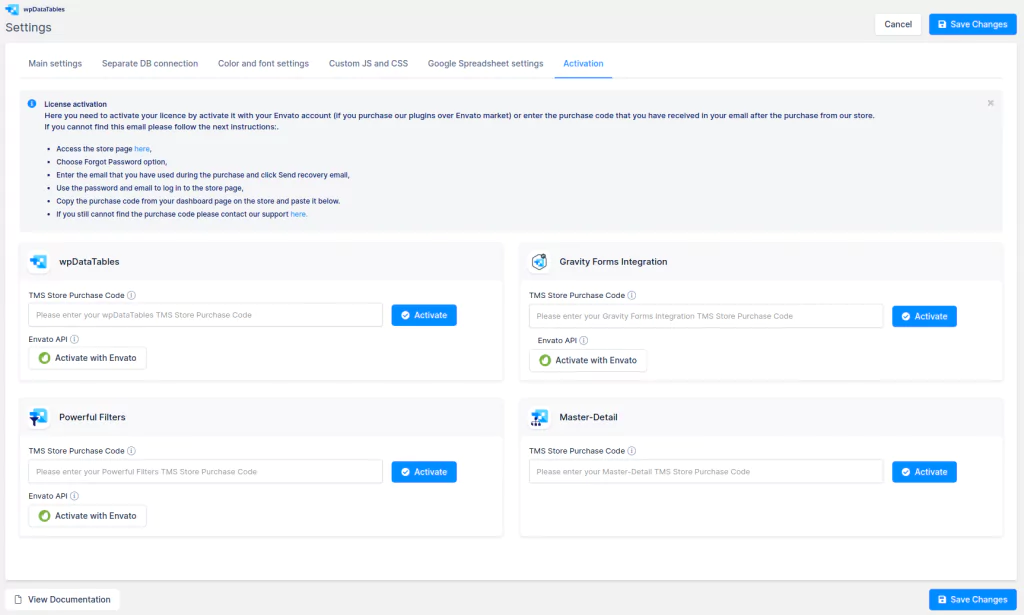
From the 2.5.1 version, there is a new tab Activation on the wpDataTables settings page, where you can enter your purchase code.
Purchase code
If you bought the plugin directly on our website, enter the TMS Store purchase code to enable auto-updates.
Envato API
If you bought the plugin on Envato (CodeCanyon), activate the plugin using Envato API to enable auto-updates.
To get your hands on wpDataTables Lite, please enter your email address below. We’ll send you a direct download link and keep you updated on existing features along with helpful tips and tricks!
