Table of Contents
Video tutorial
Example of a PHP array-based wpDataTable
If you’re a developer, or are at least somewhat familiar with PHP, you may find that standard input data types (Google Spreadsheet, Excel, CSV, MySQL query) are not flexible enough for your purposes. You may want to prepare the table data “on the fly”, by depending on some variables in the URL, or use some other complex logic. Since we do not want to limit your freedom with wpDataTables, we introduced serialized PHP arrays as one of the data source alternatives.
In this example, we are going to prepare a PHP file that returns ID’s, titles, and text previews from this documentation section using WP Query. This can also be thought of as a WordPress integration demo.
Let’s view the resulting table first, and then show the steps required to prepare it.
Instructions to create the table
<?php

// Initializing the WordPress engine in a stanalone PHP file
include('../wp-blog-header.php');

header("HTTP/1.1 200 OK"); // Forcing the 200 OK header as WP can return 404 otherwise

// Preparing a WP_query
$the_query = new WP_Query(
array(
'post_type' => 'page', // We only want pages
'post_parent' => 244, // We only want children of a defined post ID
'post_count' => -1 // We do not want to limit the post count
// We can define any additional arguments that we need - see Codex for the full list
)
);

$return_array = array(); // Initializing the array that will be used for the table

while( $the_query->have_posts() ){

// Fetch the post
$the_query->the_post();

// Filling in the new array entry
$return_array[] = array(
'Id' => get_the_id(), // Set the ID
'Title' => get_the_title(), // Set the title
'Content preview with link' => get_permalink().'||'.strip_tags( strip_shortcodes( substr( get_the_content(), 0, 200 ) ) ).'...'
// Get first 200 chars of the content and replace the shortcodes and tags
);

}

// Now the array is prepared, we just need to serialize and output it
echo serialize( $return_array );

?>
You first need to prepare a PHP file that fetches and returns the data you want.
In this example, we prepared a standalone PHP file that uses the WordPress WP_Query method to fetch all pages that belong to the documentation, and returns a serialized array that can be used to generate a table. You can view at the code on the left.
Some WP installations return a 404 code when serving standalone PHP files. To prevent this from happening, we force the 200/OK HTTP code (wpDataTables will only render the data if it receives the 200/OK HTTP code).
When the code is prepared, paste it to a PHP file, and copy the URL for use in the next step.
Create a new wpDataTable and paste your PHP file location

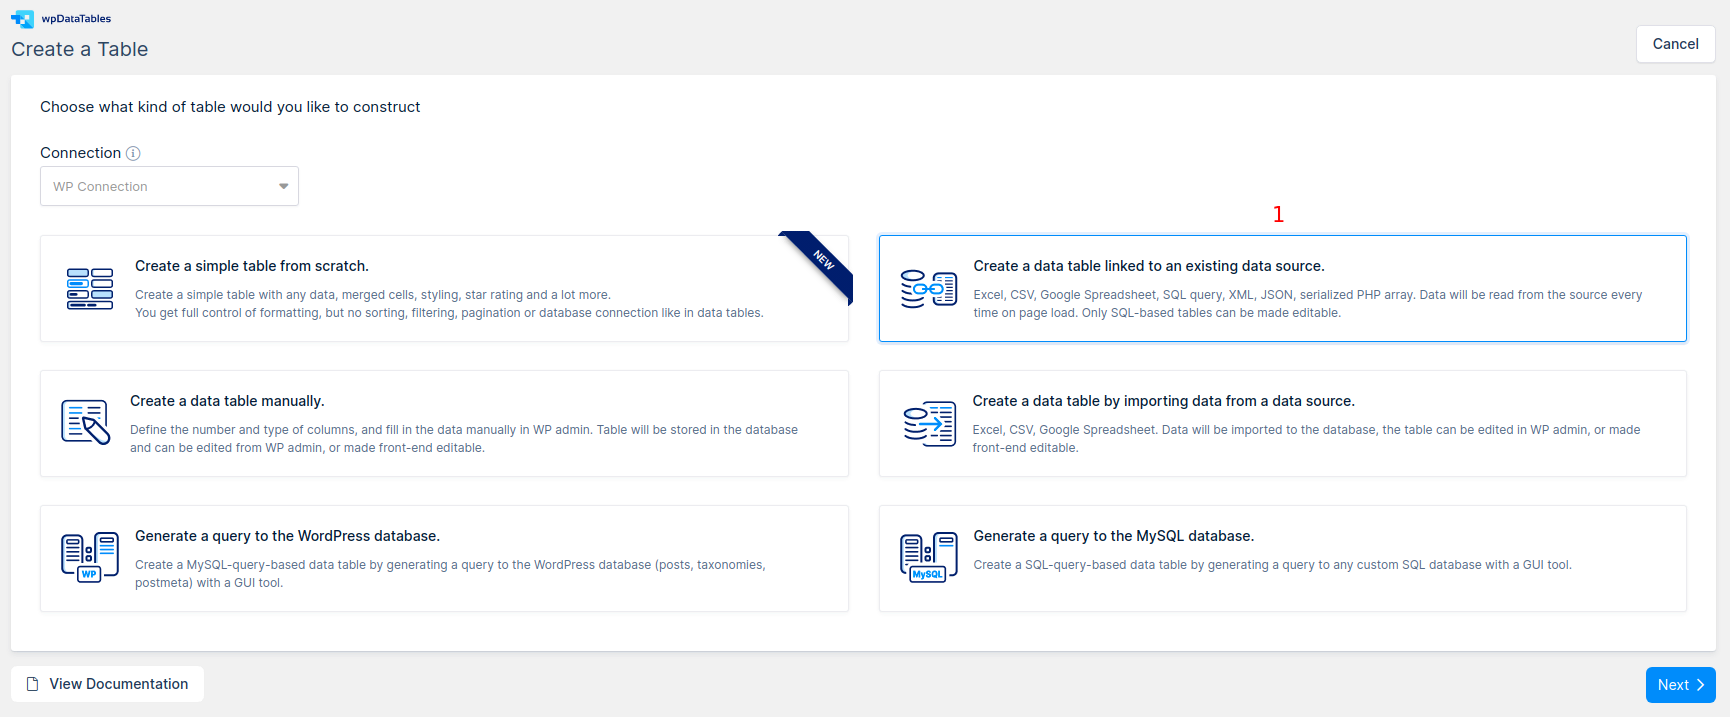
1. Go to wpDataTables -> Create a Table and choose the option Create a data table linked to an existing data source.

2. Define a name for your new wpDataTable in the input to help you to find it later.
3. Select the “Serialized PHP array” option in the “Input data source type” select box.
4. Paste the URL of the PHP file that you prepared in step 1 to the “Input file or URL” input field.
5. Press “Save Chages” so, wpDataTables will read the table data and initialize the columns metadata from the provided URL.
Define additional settings for the table and columns (Optional)

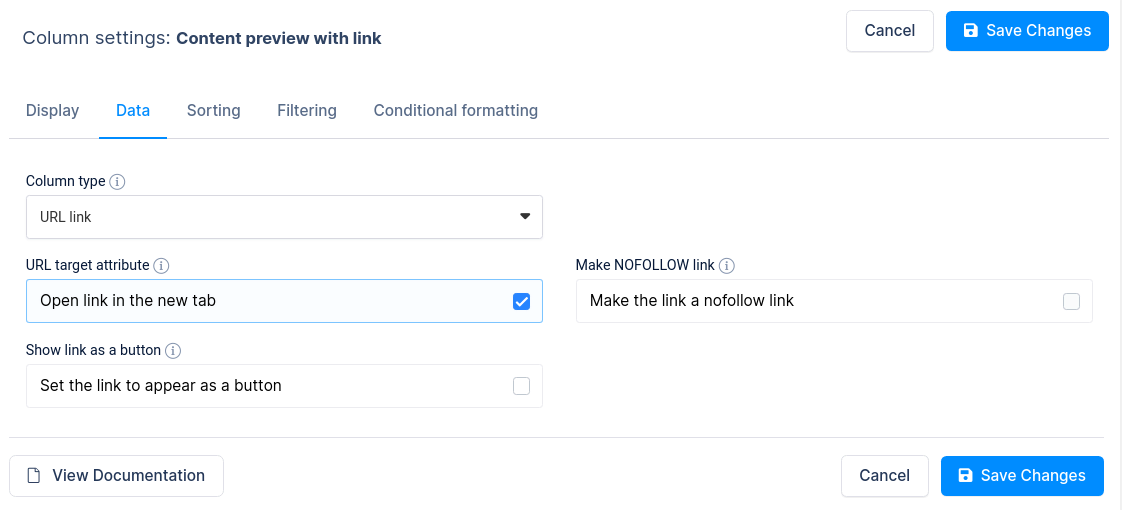
Once you’ve clicked “Apply” for the first time, yourwpDataTable is created and available to be inserted in posts or pages; but, you might choose to define additional settings for the table in general, or for some of its columns. For this table above we defined only one additional setting: set “Content preview with link” column type to “URL link“.
When you’ve done with the configuration, click “Save Changes” once again so wpDataTables will store your settings.
Insert your PHP array based wpDataTable in a WordPress post or page

Now the table is prepared and the only thing we need to do is to insert it in our post or page.
- Open or create a new post or page.
- Put the cursor in the position where you wish to place the wpDataTable.
- Click the “Insert wpDataTable” button in the editor.
- Locate the wpDataTable that you created in steps 1-3 and click OK.
- Save the post or page and open it in the front-end to see the result.
As an alternative, you can paste the generated wpDataTable shortcode manually.
If you are using Gutenberg editor, Elementor, or WPBakery page builder, you can check out the section for Adding wpDataTables shortcodes on the page.
