Table of Contents
Video version
Step 1. Table type selection

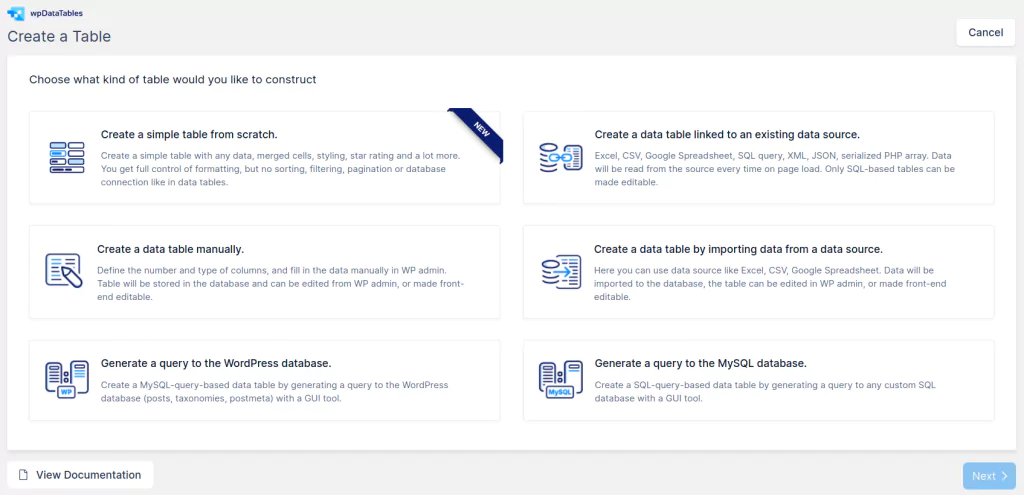
In the first wizard step, you are shown the different ways of creating a table in WP – which lead to different table types. An explanation of the differences is provided under each option. There is no configuration on this step, you simply need to choose one of the options and click “Next“.

Step 2. Quick Simple table creation
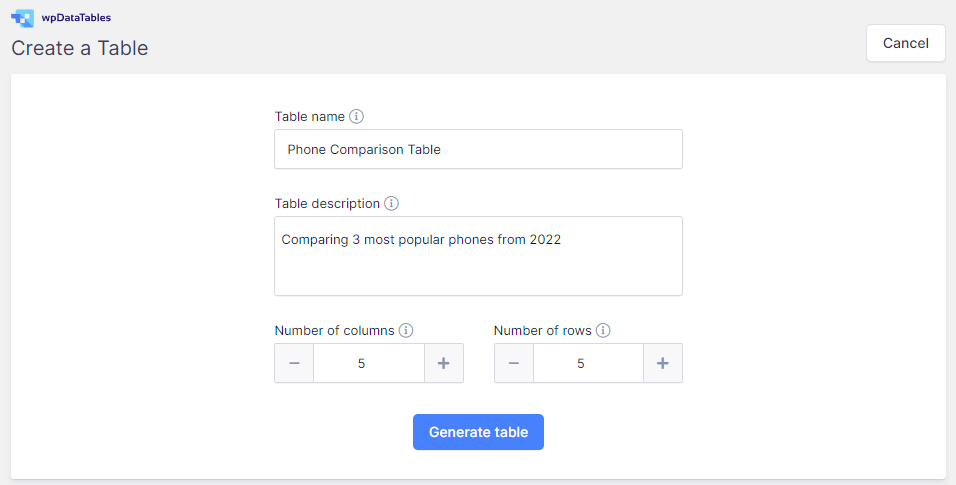
If you choose the first option, you will be able to create a simple table from scratch. In the second step, you’ll be able to configure the table’s structure by setting the table name, description, number of columns, and number of rows.
Once you configure the structure and click on ‘Generate table’, your empty table will be created, and you will be redirected to the table editor where you will insert your data. In there, you will find a lot of customization options like merge cells, star rating, text toolbar, insert HTML, custom background, text colors, and a lot more.
You can read the full instructions on creating this type of table here.

Step 2. Table creation from existing data source

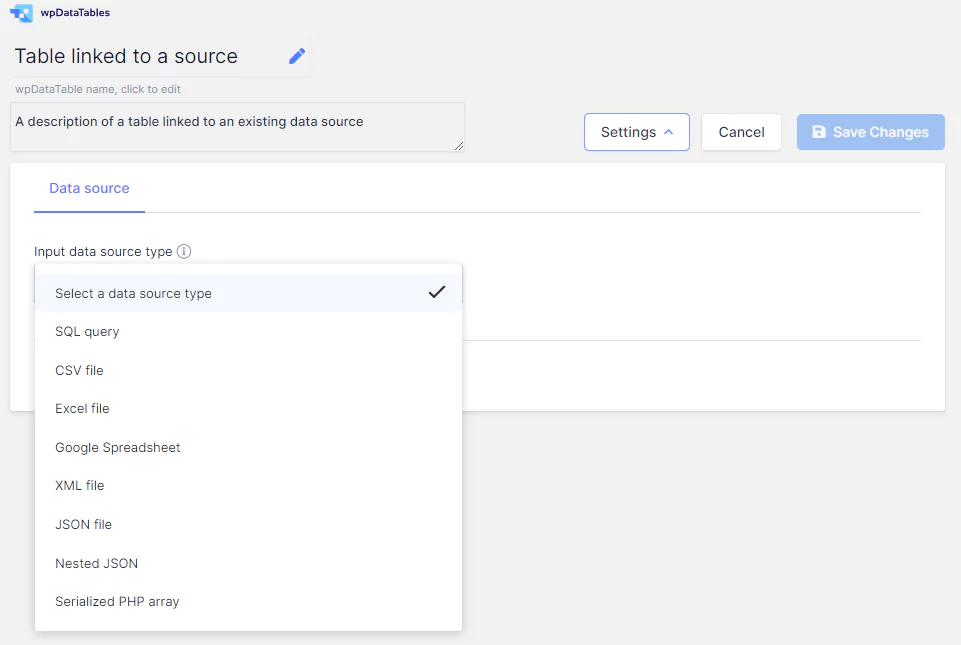
If you choose the second option, you’ll be redirected to the “Configure table” page, where you can choose the data source (SQL query, Excel, CSV, Google Spreadsheet, JSON, XML, Serialized PHP array) and create the table. You can read more about each of them on the links below:
Step 2. Manual table creation
If you choose to create a table manually (the third option) you’ll be able to configure the table structure by setting the table name, its description, the number of columns, each column’s name, the column’s data type, and define possible values (if necessary), and the default value for the editor.
Once you configure the structure and click ‘Create the table’, your table will be created, and you will be redirected to the table configuration editor.
You can read the full instructions on creating this type of table here.

Step 2. Table data importing from CSV/Excel or Google Spreadsheet

If you choose to create a table by importing data from a given data source (Excel or CSV file, or Google spreadsheet), you will be asked to provide a file for Excel or CSV or paste a URL if you use Google Spreadsheet.
Read here for the full instructions for creating this type of table.
Step 2. Generating a WordPress DB Query
If you choose to create a table based on a query to the WordPress database, you will see a screen where you’ll be asked to choose the posts and post properties that you will use in the table.
The first column displays all the post types registered in your WordPress. When you select the ones you want to use and click “Add”, they will appear in the second column. The third column displays the list of post properties available to be displayed in the table – you can then add the post properties you’ve selected to the fourth column, to create a list of your table fields.
In the bottom part, you can configure conditions for the query, and the grouping rules.
You can read the full instruction on creating such tables here.
When you’ve defined all the query parameters, click ‘Next‘ to go to the table preview step.

Step 2. Generating a MySQL DB Query

If you choose to create a table based on a query to MySQL database, you will see a screen where you can choose the tables and columns you want to use in the table.
The first column shows all the tables registered in your MySQL database. Select the ones that you want to use, and click “Add”. They will appear in the second column. In the third column, you’ll see a list of available post columns to be displayed in the table. You can then add these post columns to the fourth column by clicking “add”. The fourth column will now contain the list of your table fields.
In the bottom part, you can configure conditions for the query and the grouping rules.
You can read the full instruction on creating such tables here.
After you’ve defined all the query parameters, click ‘Next‘ to go to the table preview step.
When you are creating a table by importing data from a data source, in Step 3, you will preview the columns that wpDataTables fetched in the provided file or URL; see the ‘guessed’ data type (change it if necessary), preview the data, and remove some columns from import if necessary, or optionally add new ones.
You can find the full instructions on how to create wpDataTables based on importing data from different data sources here.
When you’ve finished configuring, simply click on ‘Create the table‘. A dropdown will open with options to open the table in a standard editor or an Excel-like editor. After choosing the editor type, the table will be created, the data will be imported, and you will be redirected to the table configuration page.

Step 3. Generated query preview


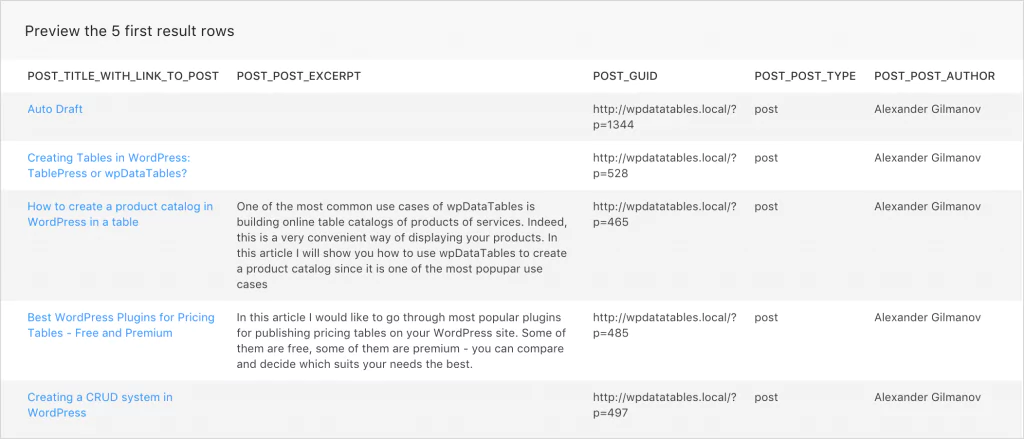
When you are creating a table by generating a query to the WordPress database, or the MySQL database, the third step of the wizard is to preview the query, with the option to edit it if necessary, and to preview of first rows of the future table.
You can click on refresh button to refresh the preview if you edit the query.
Once you are satisfied with the preview, you can click ‘Next‘ to create a wpDataTable based on this query.
You can read full instructions about creating this type of tables here for MySQL, and here for WordPress databases.
