


You can integrate IvyForms with wpDataTables to automatically turn your form submissions into interactive, filterable tables on your WordPress website. This integration makes it easy to visualize, analyze, and share user-submitted data without manual exporting or importing.
With IvyForms connected to wpDataTables, every new submission is instantly available as a new table entry – perfect for surveys, booking requests, feedback forms, or any kind of structured data collection.
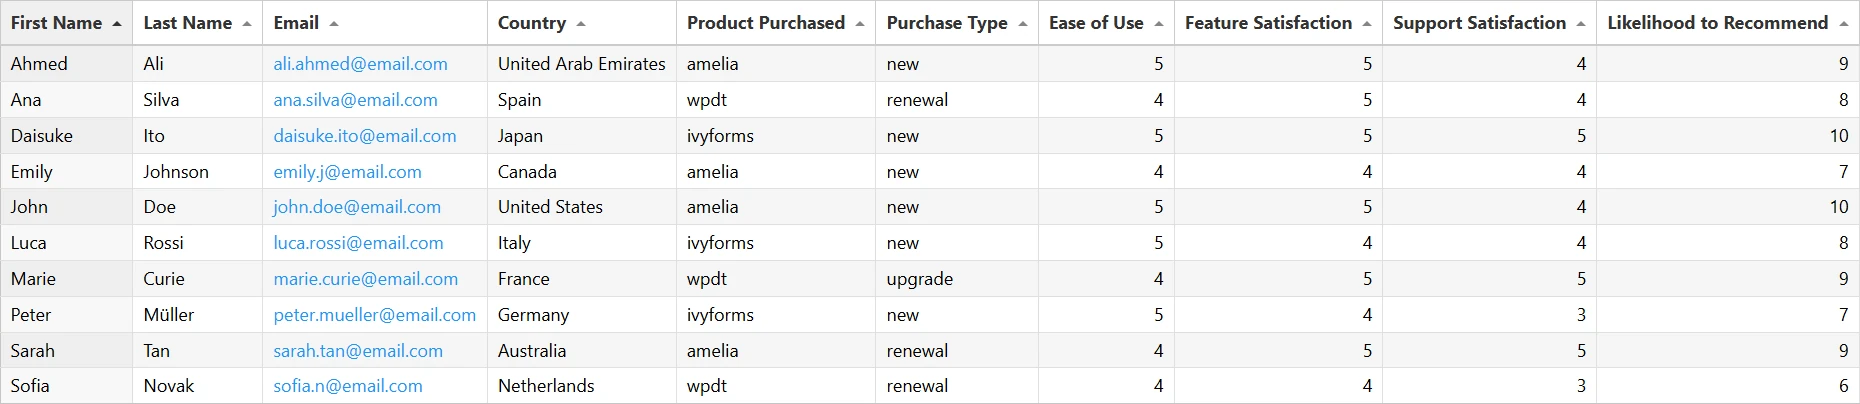
Table of Contents
Before you start, make sure you have everything ready for the integration to work properly:
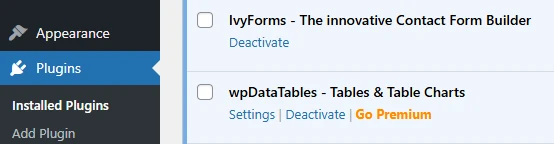
Both plugins installed and activated
You need to have IvyForms and wpDataTables installed and active on your WordPress site.
Enable the integration in IvyForms settings
Go to IvyForms → Integrations and enable the wpDataTables integration using the toggle switch.
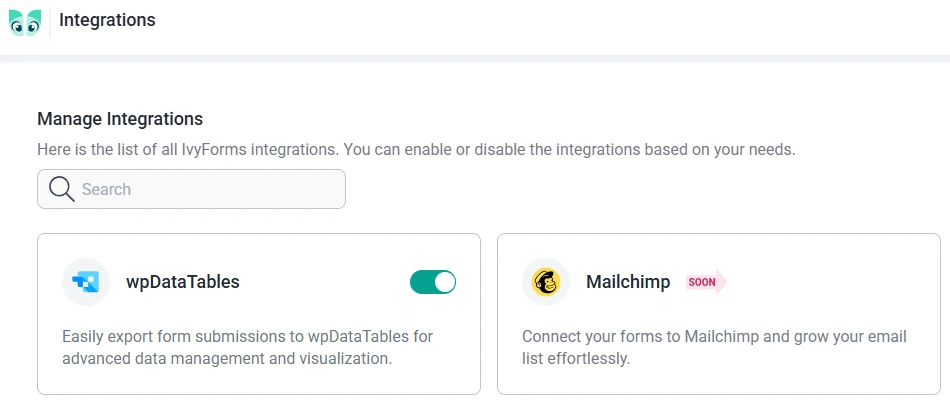
Integration enabled inside your IvyForm settings
Each IvyForm includes a built-in wpDataTables integration toggle. It’s enabled by default, which means all form submissions will be available for table creation.
However, if you don’t want a specific form to appear as a data source in wpDataTables, you can simply disable this toggle for that form.
You’ll find it under:
Form Settings → Integrations → wpDataTables

At least one published form with submissions
The integration works once your form has collected at least one submission — this allows wpDataTables to detect the available fields and build the table automatically.
You can create a wpDataTable directly from your IvyForms submissions using the built-in integration. This allows you to display and analyze your form entries instantly, without importing or exporting any data.
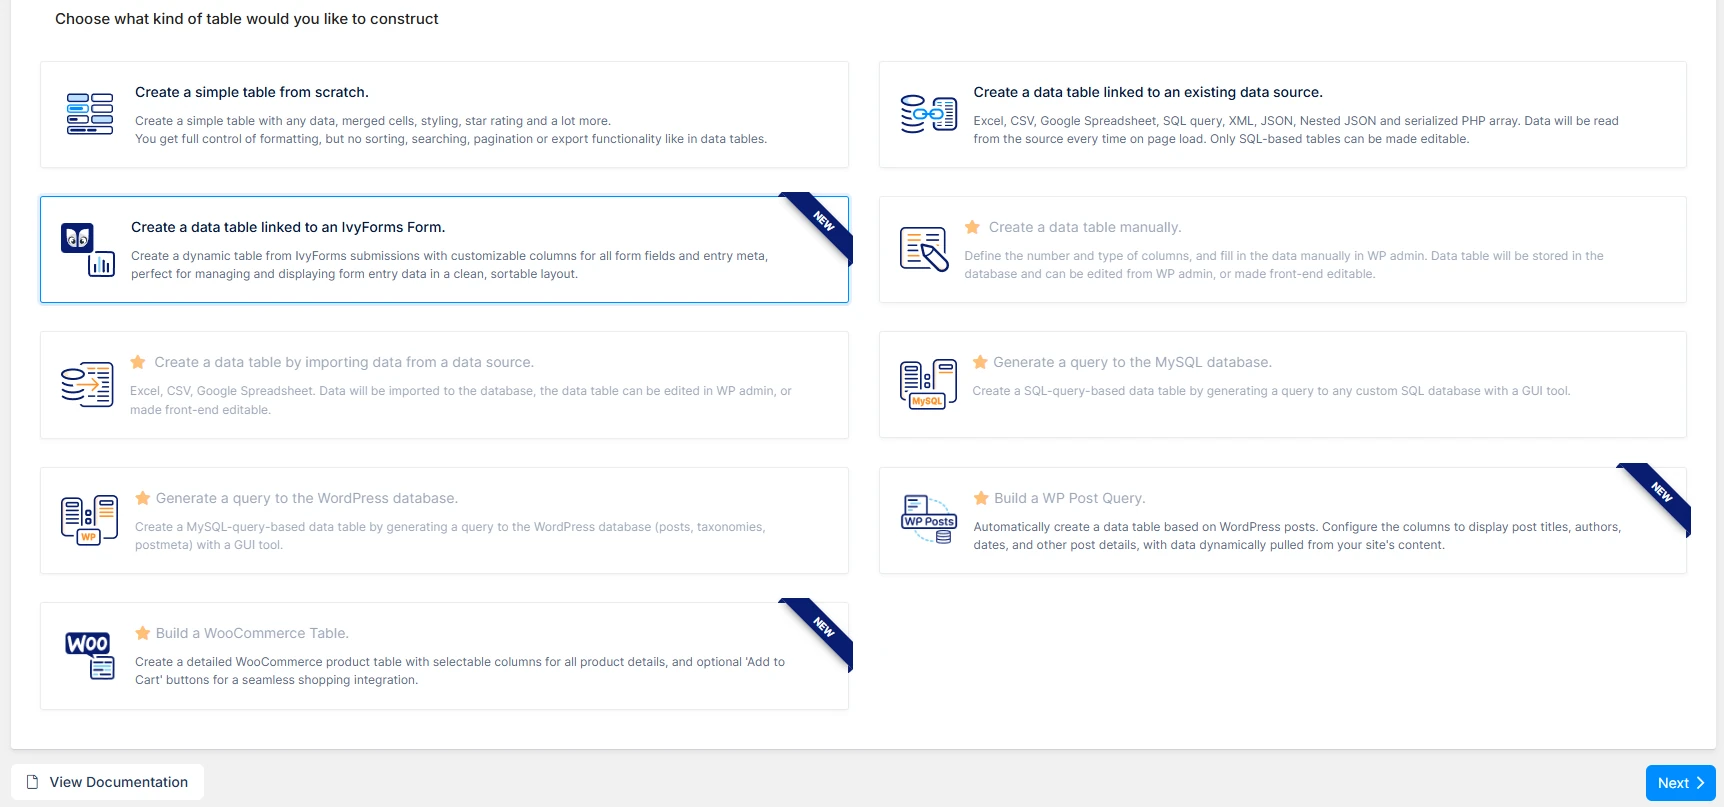
Go to wpDataTables → Create a Table in your WordPress dashboard.
In the table creation menu, select “Create a data table linked to an IvyForms Form.”, then click the blue Next button in the bottom-right corner to start the creation process.
Define the Table title and Description just like you would with any other wpDataTable.
The Input type will automatically be set to IvyForms and cannot be changed for this integration. Under the dropdown Choose an IvyForm, select the form you want to use as your data source.
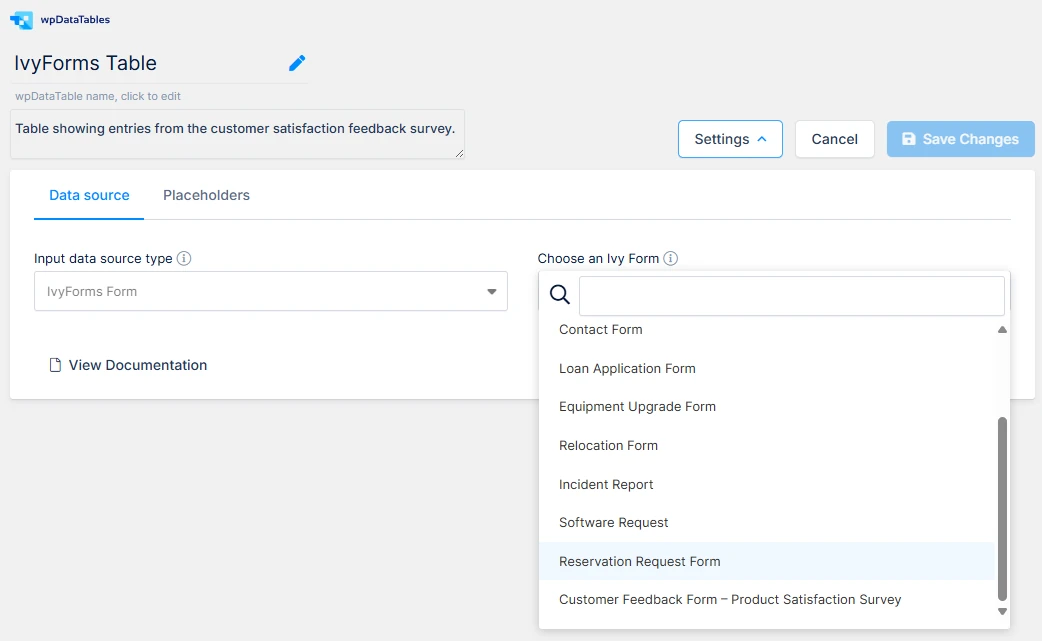
Once you select the form, a new dropdown menu will appear where you can choose which columns (fields) will be included in your table.
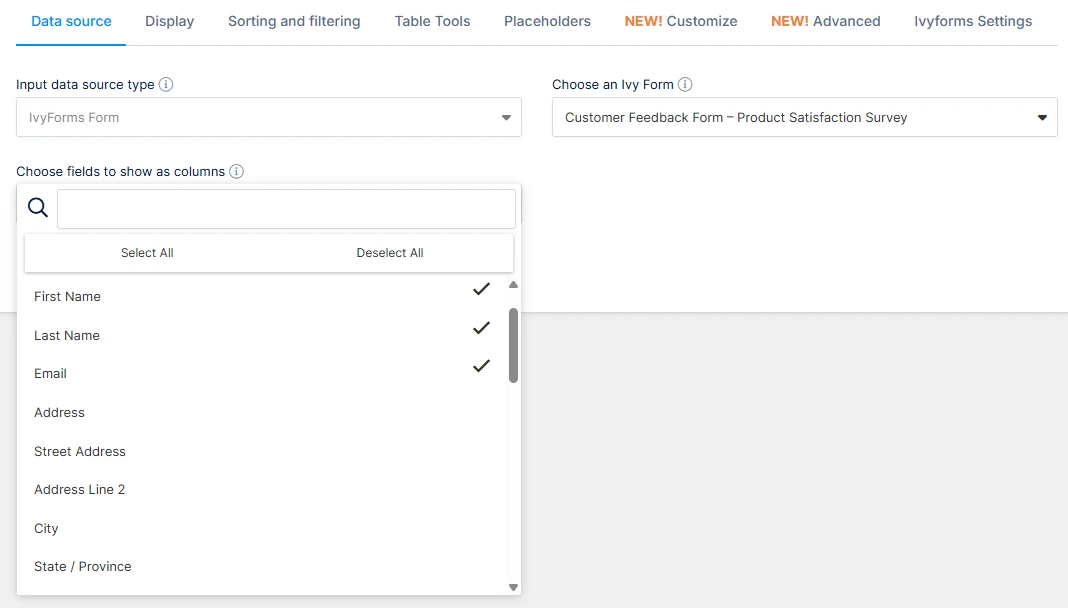
The dropdown displays both your custom form fields and a set of default system fields that IvyForms automatically collects with every submission:
ID
Form ID
User ID
Date Created
Status
IP Address
User Agent
Source URL
Starred
You can:
Select or deselect all fields at once
Pick individual fields to appear in your table
After selecting your desired fields, click Save Changes in the top-right corner.
wpDataTables will then automatically create your new table, pulling all form entries directly from IvyForms.
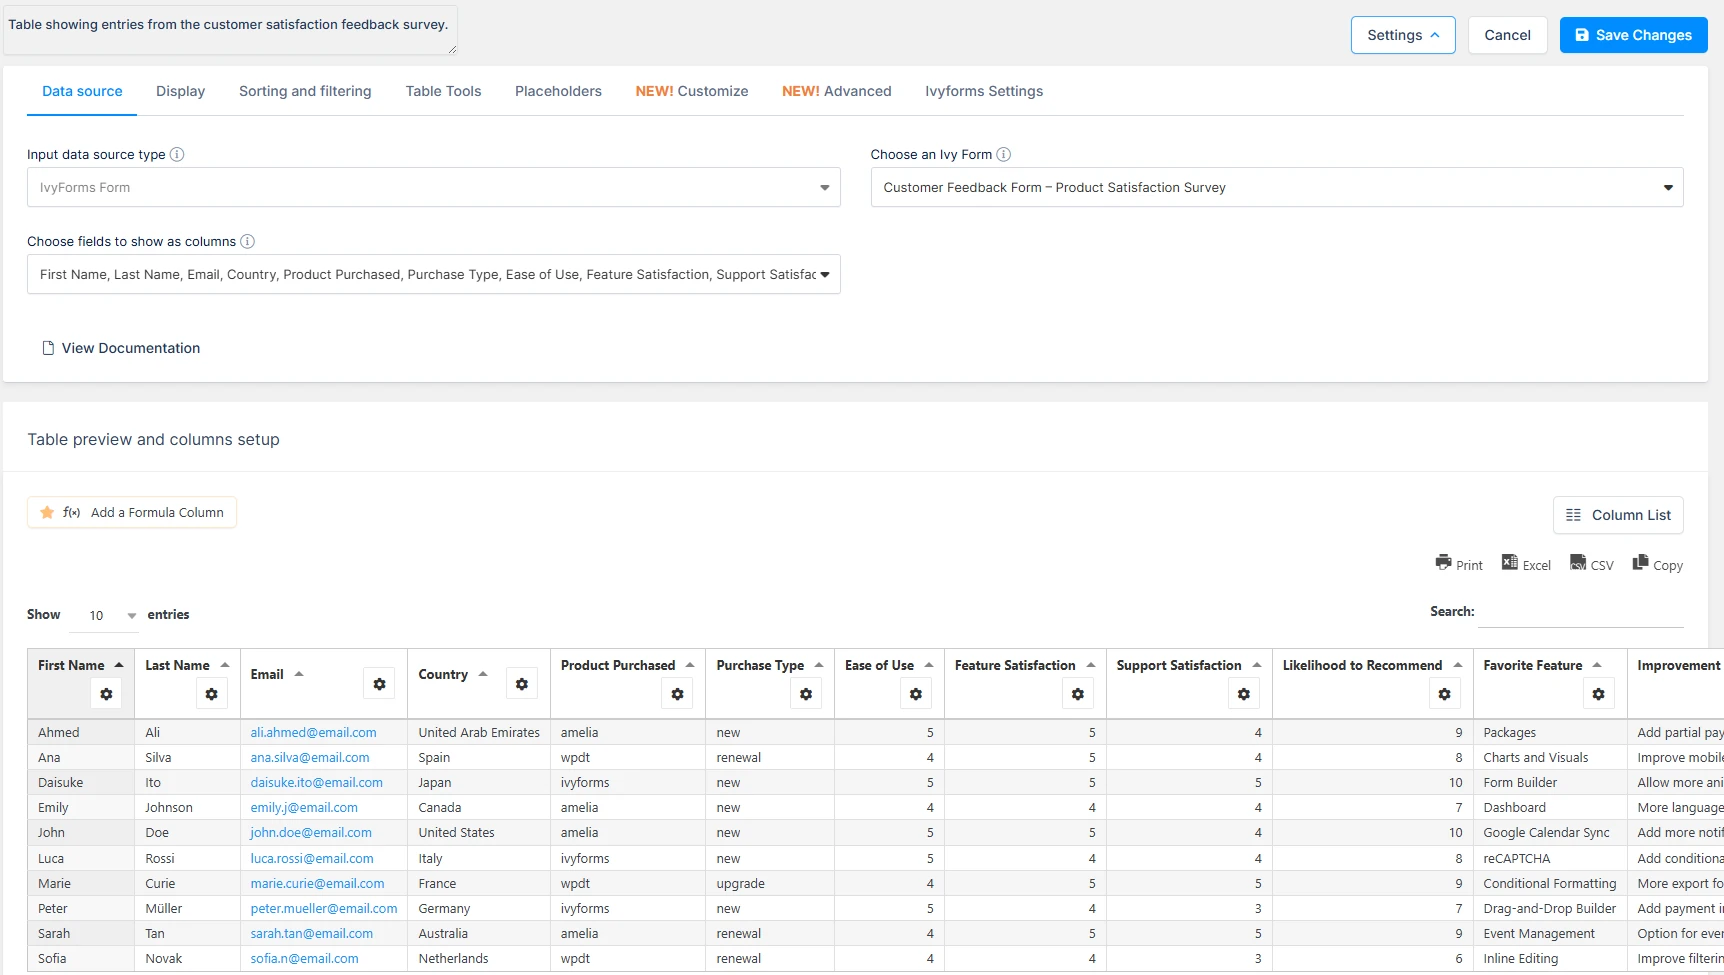
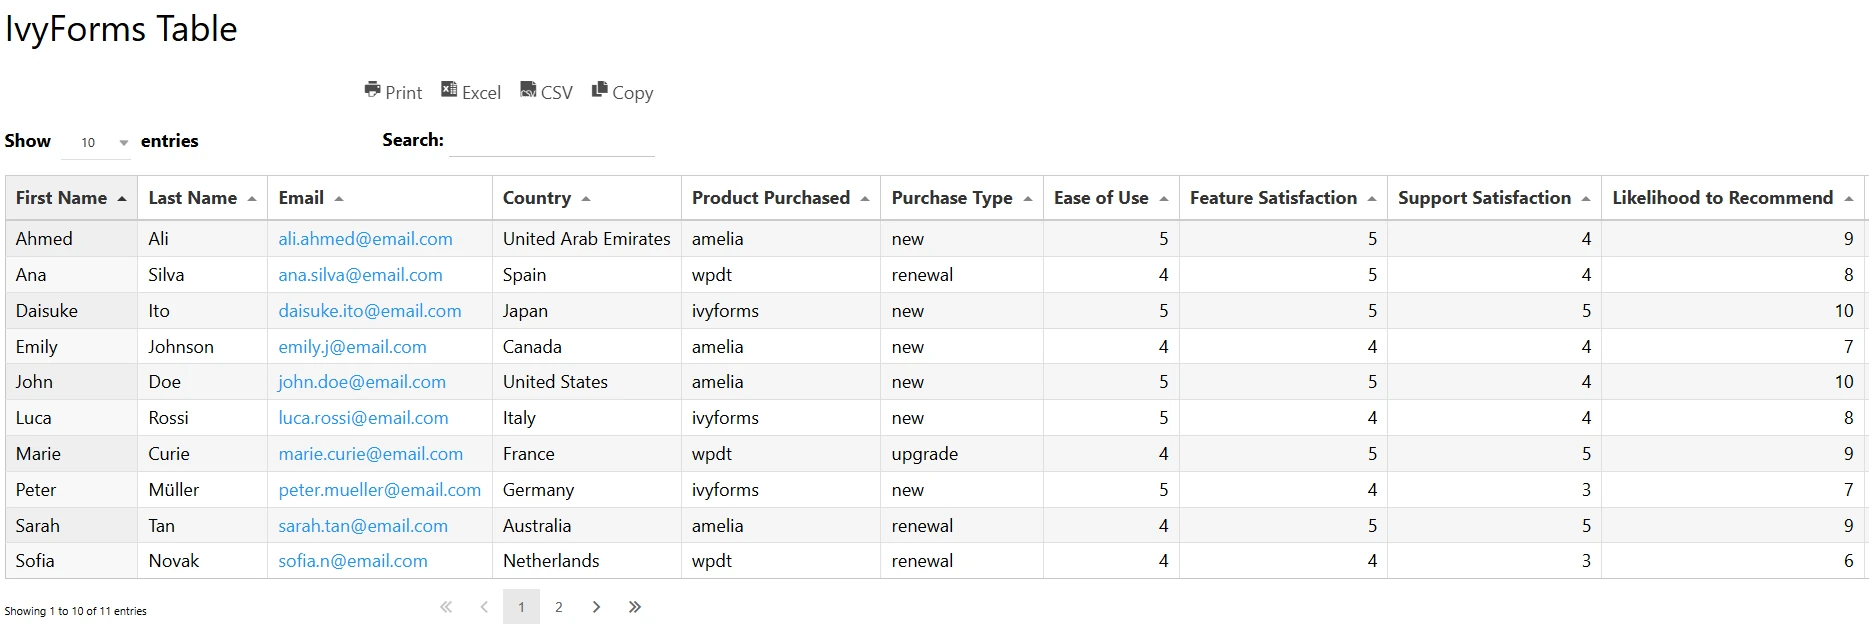
Once the table is created, it behaves just like any other linked wpDataTable — you can:
Display it on the front-end using a shortcode
Apply filters, sorting, or skins
Adjust column formatting
Enable pagination and search
The table is read-only because the IvyForm acts as an external data source, similar to tables connected to Excel, CSV, or Google Sheets files. This ensures that only new form submissions update your table automatically.
To get your hands on wpDataTables Lite, please enter your email address below. We’ll send you a direct download link and keep you updated on existing features along with helpful tips and tricks!