


You can integrate Formidable Forms with wpDataTables by installing the Formidable Forms integration add-on, which adds a “Formidable Form” table type as a data source. Once it is active, you can build a wpDataTable from your Formidable Form entries using the “Create a table linked to an existing data source” page.
Table of Contents
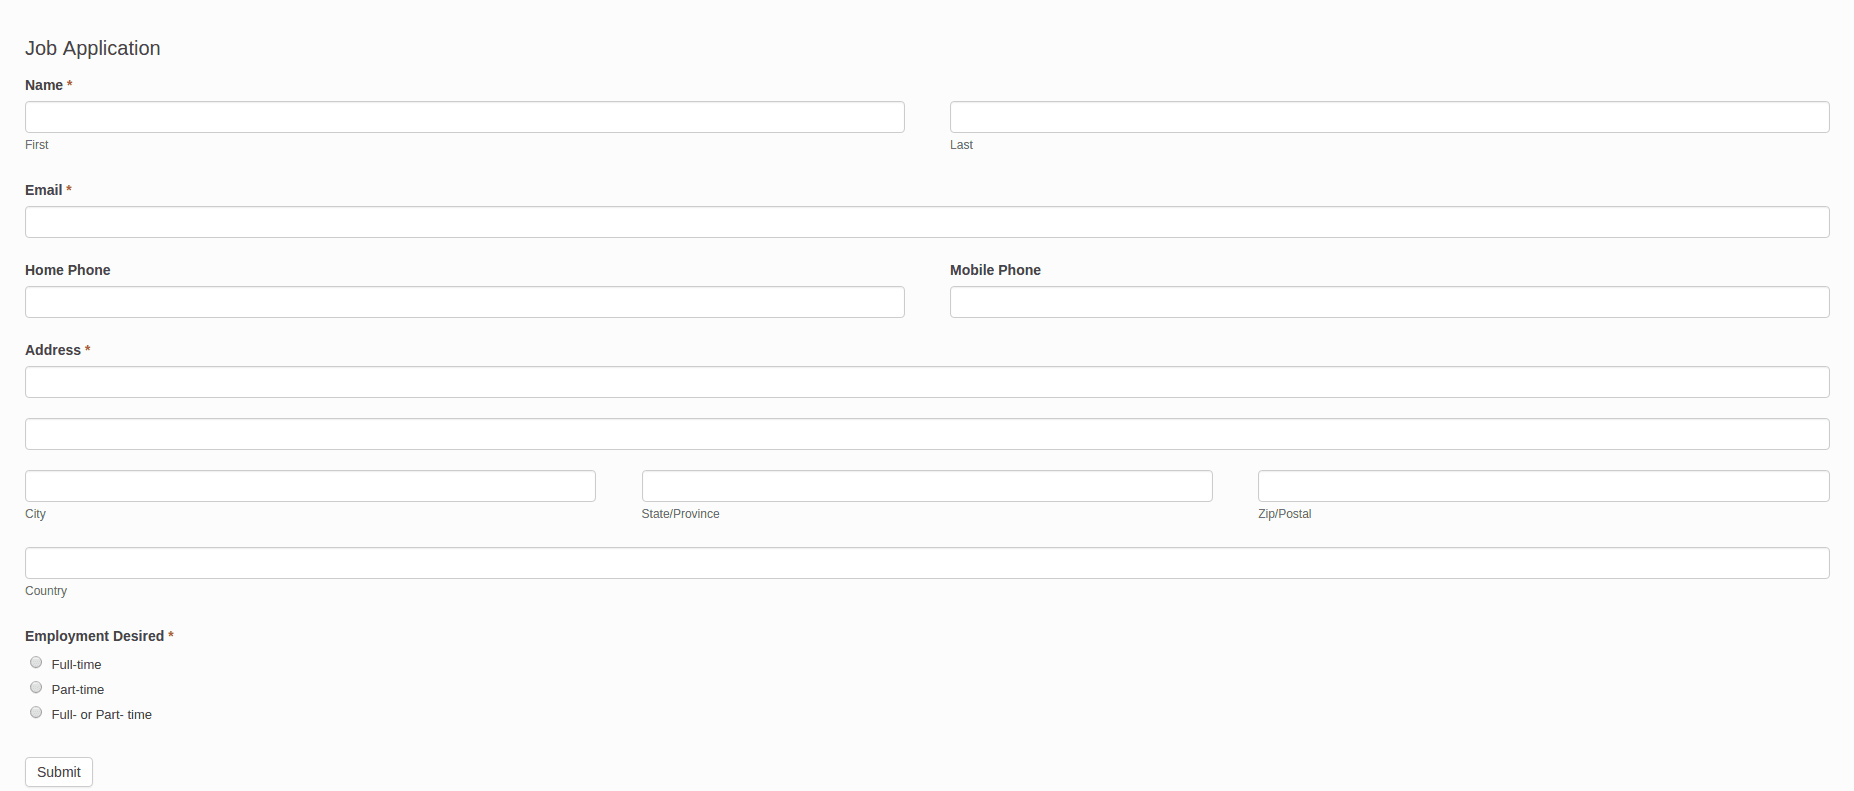
Prepare a Formidable Form that has at least one entry, then link it to wpDataTables. Each form field is shown as a wpDataTable column and each form entry renders one row in the table.
In the example form, the fields are First Name, Last Name, Email, Home Phone, Mobile Phone, Address, and Employment Desired.
In this tutorial we will create a wpDataTable based on a dummy “Job Application” form that has 3 entries. Each form field will be shown as a wpDataTable column and each form entry will render one row in the wpDataTable. On the left side you can see a dummy form that will be used in this tutorial.
Form fields that can be displayed in wpDataTable as columns are: “First Name“, “Last Name“, “Email“, “Home Phone“, “Mobile Phone“, “Address“, “Employment Desired” although it is not required to show all of them in the table.
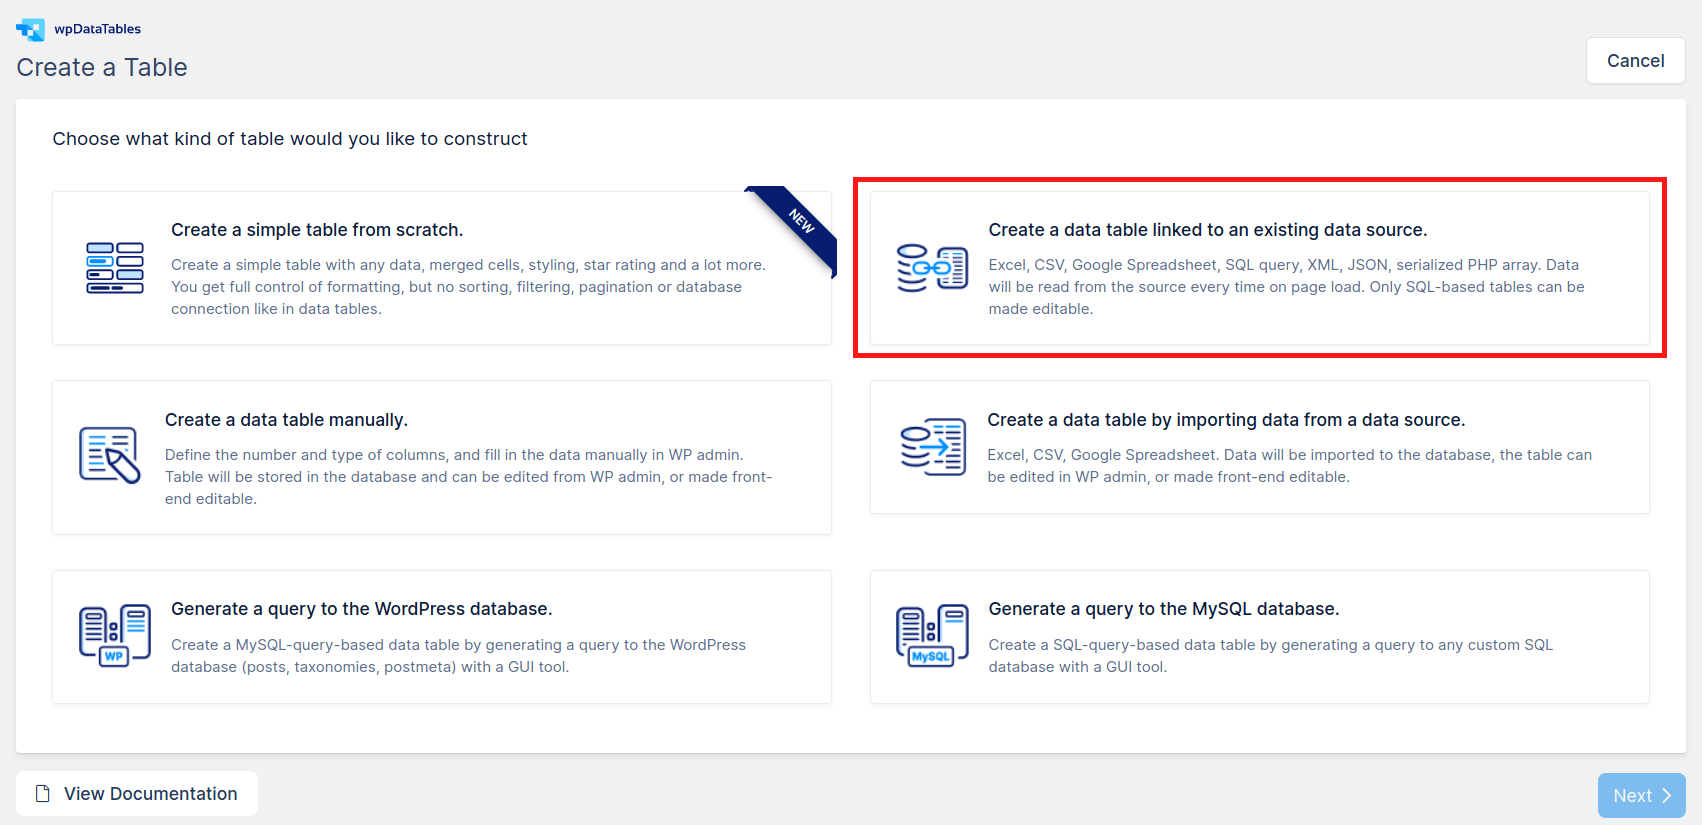
Go to wpDataTables -> Create a Table, choose the “Create a data table linked to an existing data source” option, and click next. Define a name for your new wpDataTable to help you find the table later, and choose “Formidable Form” as the Input data source type.
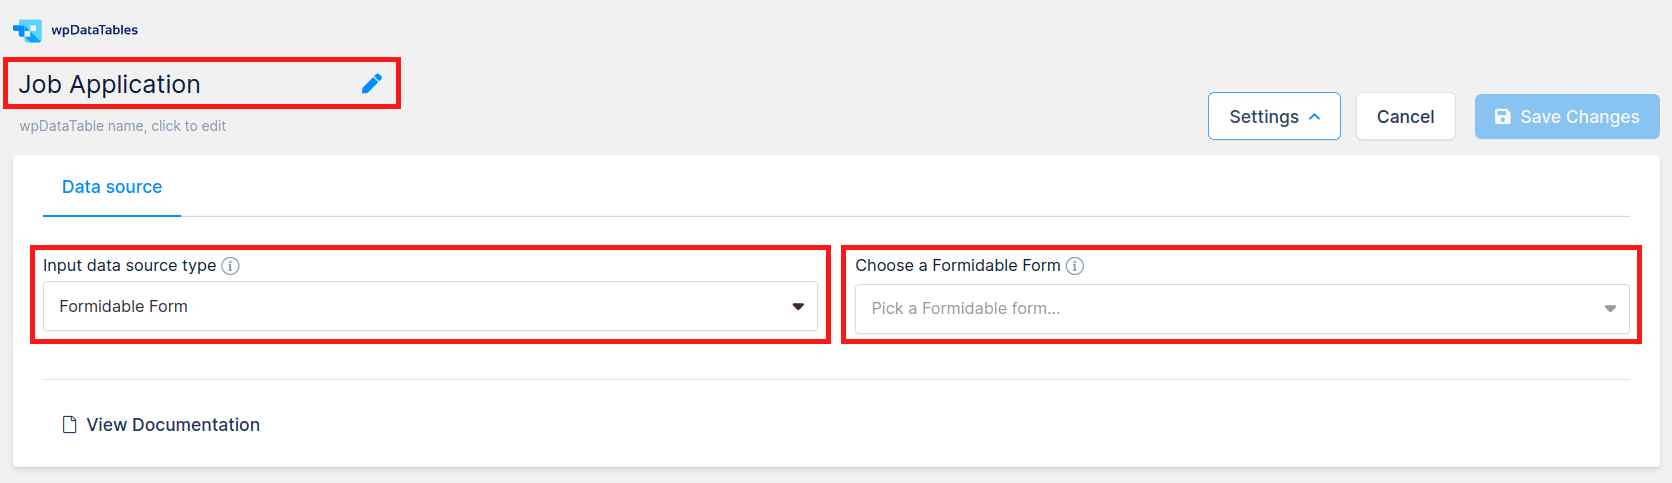
Define a name for your new wpDataTable to help you to find the table later, and choose “Formidable Form” as the Input data source type. After you choose Formidable Form as a table type, a new selectbox, “Choose a Formidable Form” will appear. You will need to select a form, which then needs to be rendered in a wpDataTable. In this tutorial we will use the “Job Application” form.
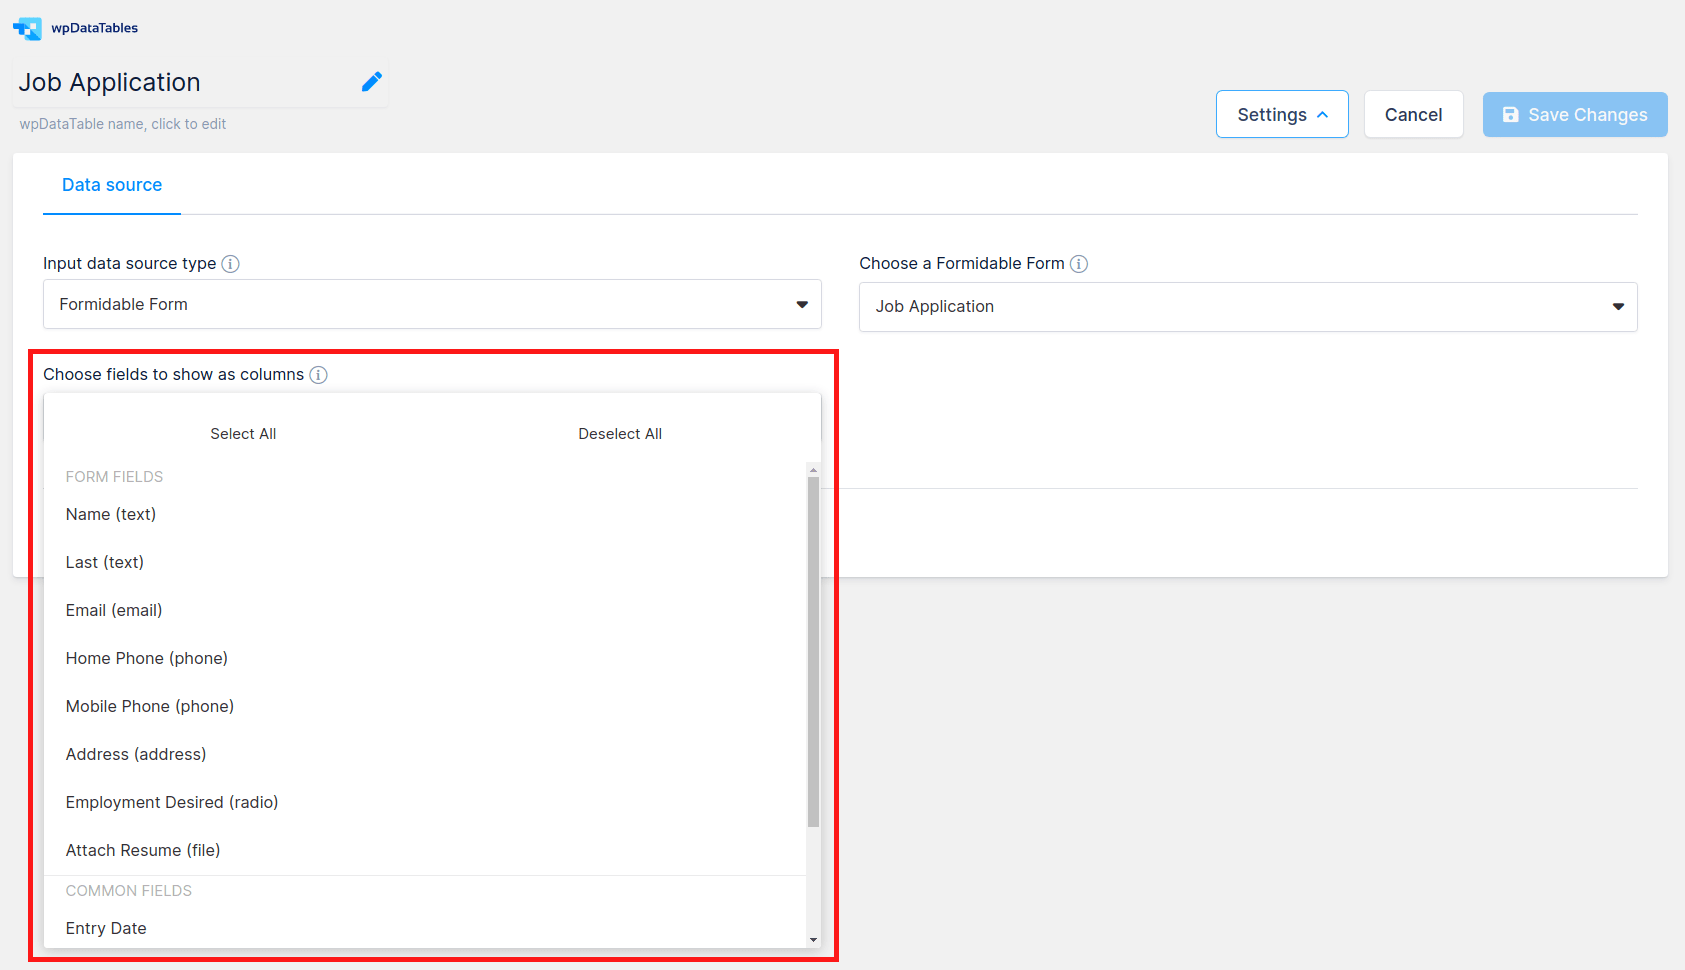
After you choose Formidable Form as the table type, a new “Choose a Formidable Form” selectbox appears. After you select a form to use as the data source, a “Choose fields to show as columns” selectbox appears.
It is not mandatory to add all of these fields to create a wpDataTable. When you choose all the fields you would like to show in the table, click “Save changes” and a wpDataTable is created and displayed in the “Table preview and columns setup” block.
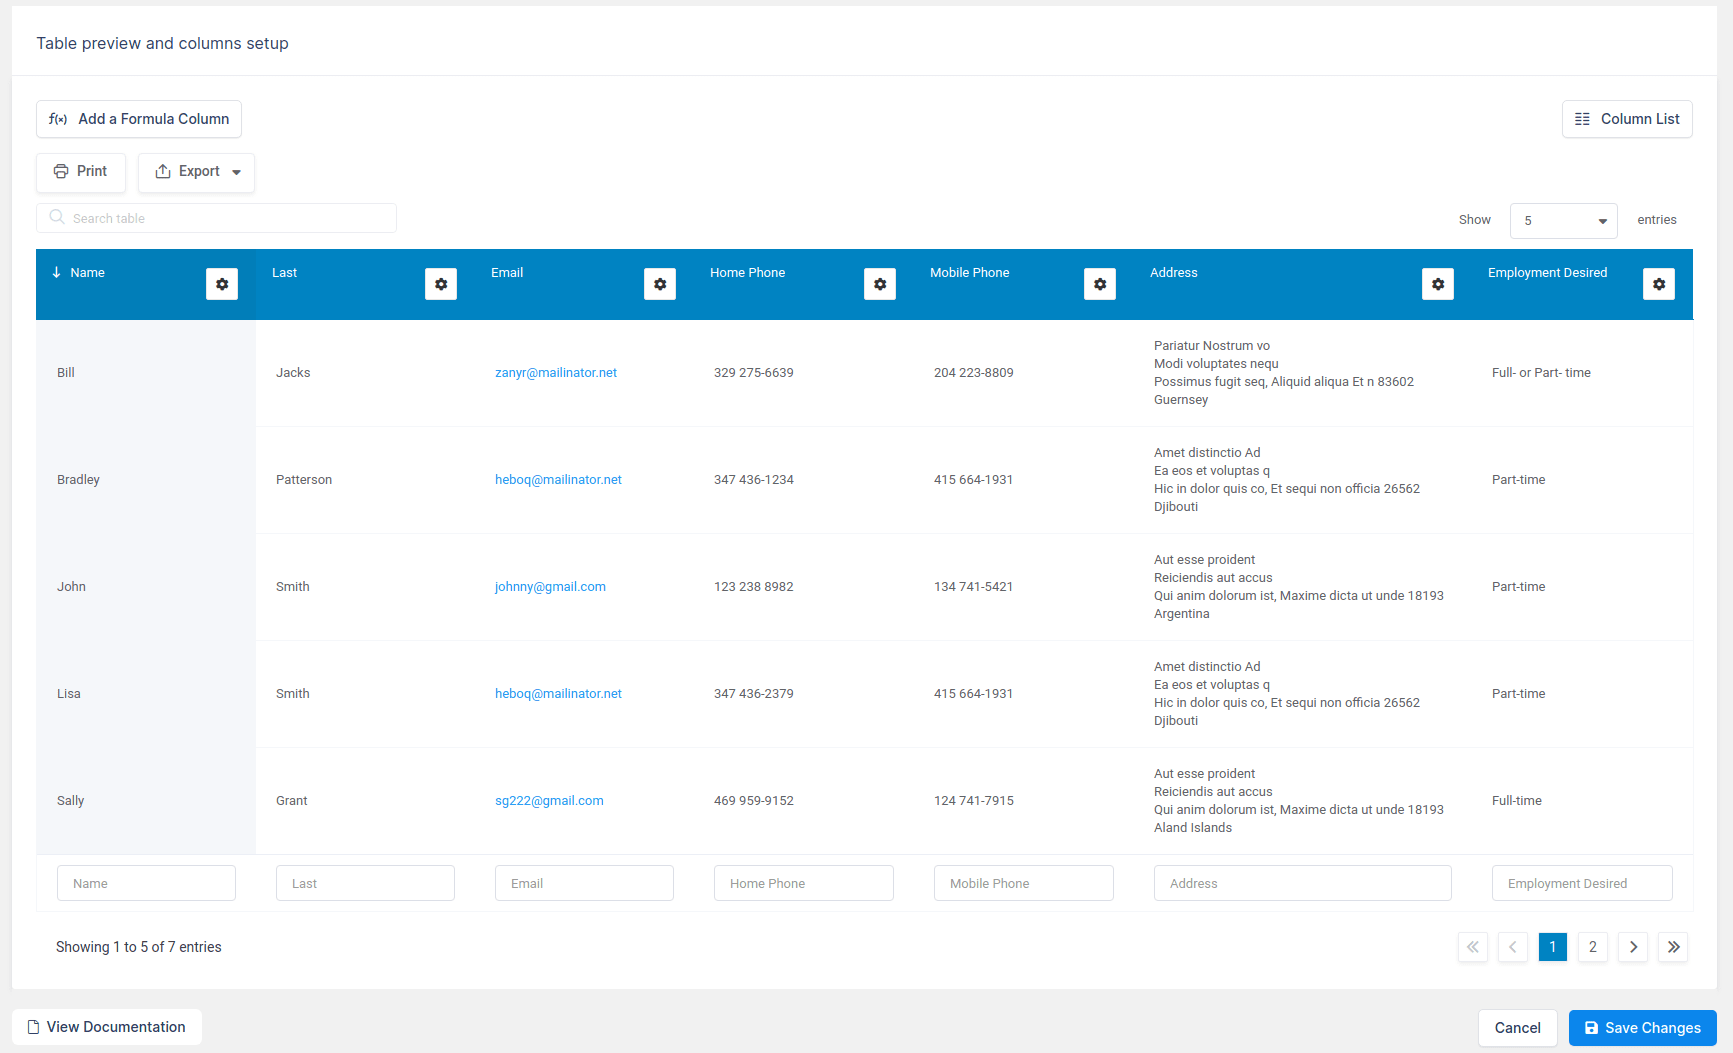
When you choose all the fields you would like to show in the table, click “Save changes” and a wpDataTable will be created and displayed in the “Table preview and columns setup” block. You can see in the image on the left that the new wpDataTable has 5 columns; 4 columns created from Form Fields, and one created from Common Fields (“Entry Date”). Each row represents one form entry that was previously added in the form.
Each Formidable form based wpDataTable receives an extra Formidable settings tab where you choose which entries appear based on their entry date. Using this tab, you define which form entries appear by choosing one of two filtering logic options in the Filter by date selectbox: Filter by date range or Filter by last X time period. You can also leave this block empty if you do not wish to filter the form entries displayed in the table.
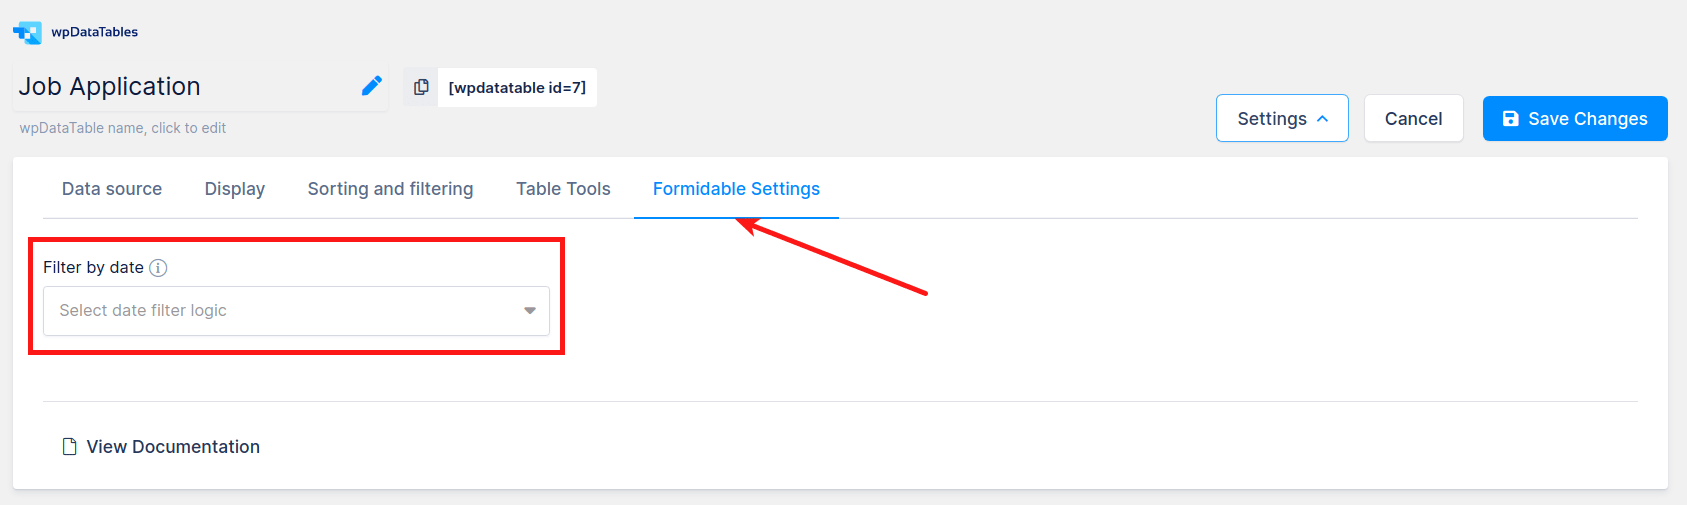
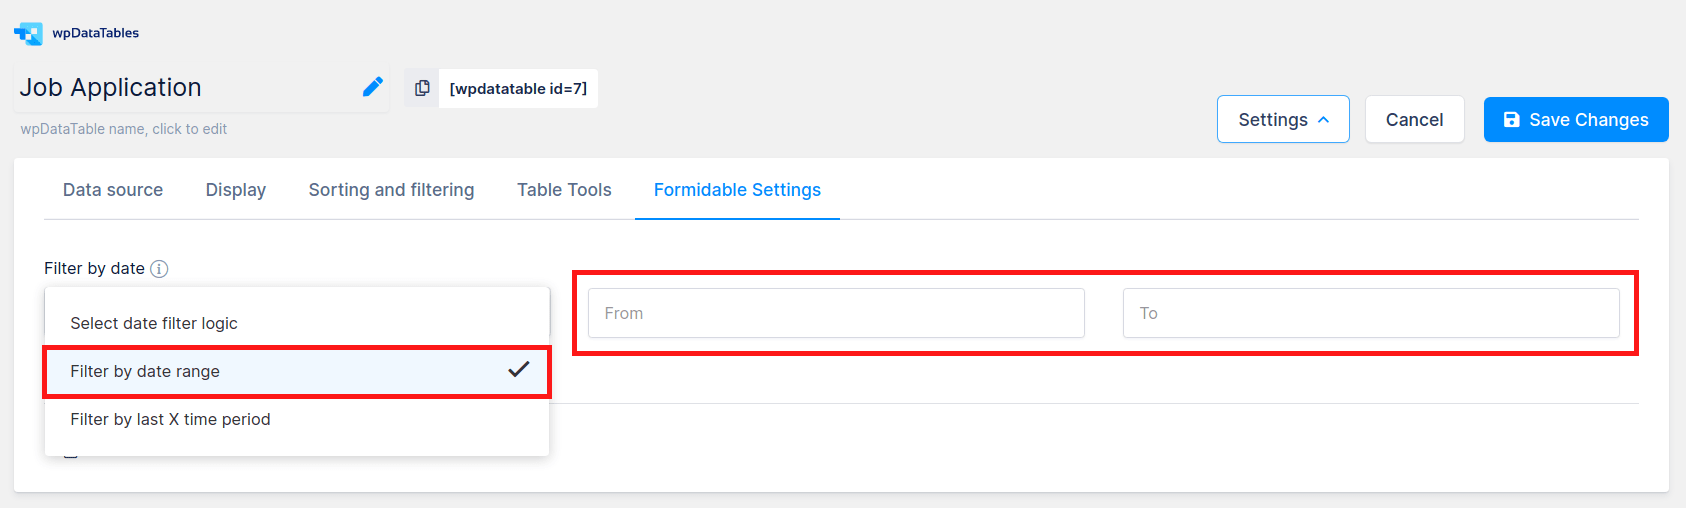
If you select this option, two input fields (“From” and “To”) are displayed to the right of the Filter by date selectbox. By choosing date values in these datetimepicker input fields, the wpDataTable rows are updated by date range once the entries have been added to the form.
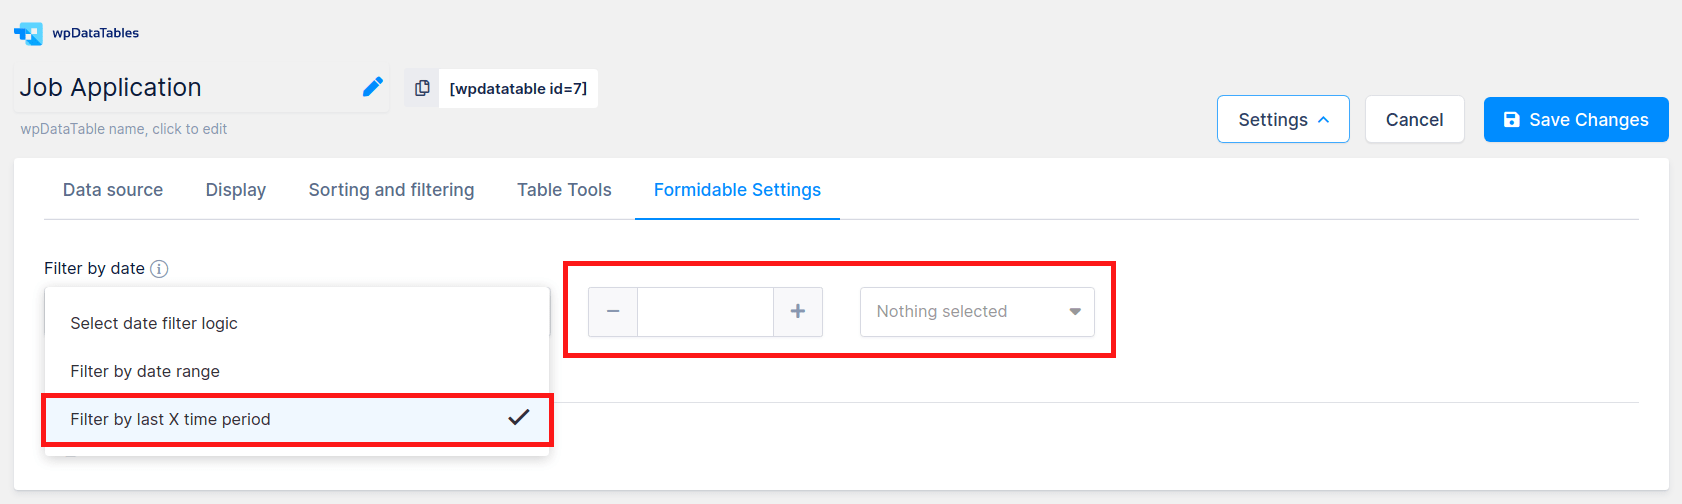
By choosing this option, two input fields are displayed by the Filter by date selectbox. In the first one you can add the number of periods (e.g., 30), and in the second one you can choose between Day(s), Week(s), Month(s), and Year(s). By selecting, for example, “30 Day(s)”, you filter and display in the wpDataTable only the entries that were added in the last 30 days in the Formidable Form used as the data source for this wpDataTable.
At this point the table is already prepared, but to improve its usability you should define a few additional settings for the table and its columns. For example:
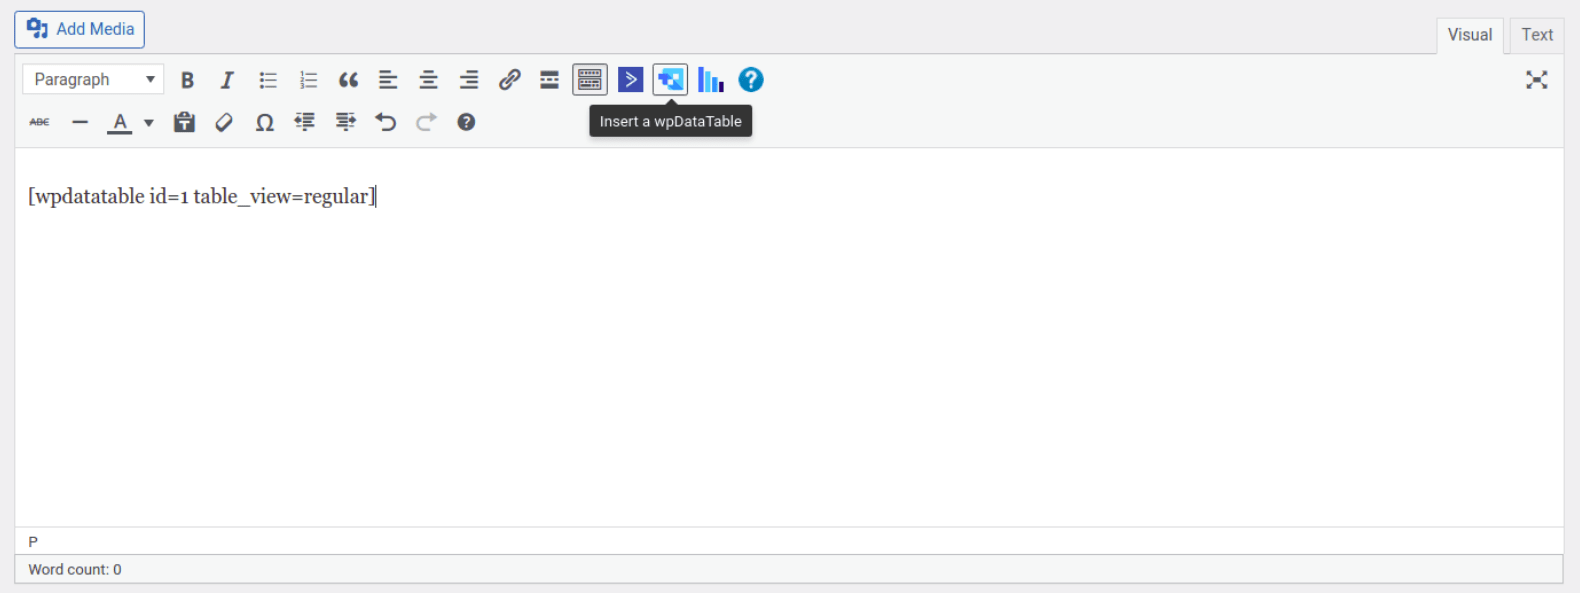
When the configuration of your Formidable form based wpDataTable is finished, insert it into your post or page. Open (or create) a WordPress post or page, place the cursor where you want the table, click the “Insert a wpDataTable” button in the MCE editor panel, and choose the Formidable table you prepared.
Or, if you prefer to do things manually, copy and paste the wpDataTable shortcode (you can find it on the wpDataTables browse page or the wpDataTable edit page).
To get your hands on wpDataTables Lite, please enter your email address below. We’ll send you a direct download link and keep you updated on existing features along with helpful tips and tricks!